Gift your gift that extra-special touch with beautiful wrapping. Here, Romy Meurer of The Gift Wrap Studio demonstrates Japanese pleating
What you’ll need
- Gift wrap
- Scissors
- Ruler
- Sticky tape
- Double-sided tape
Step-by-step guide
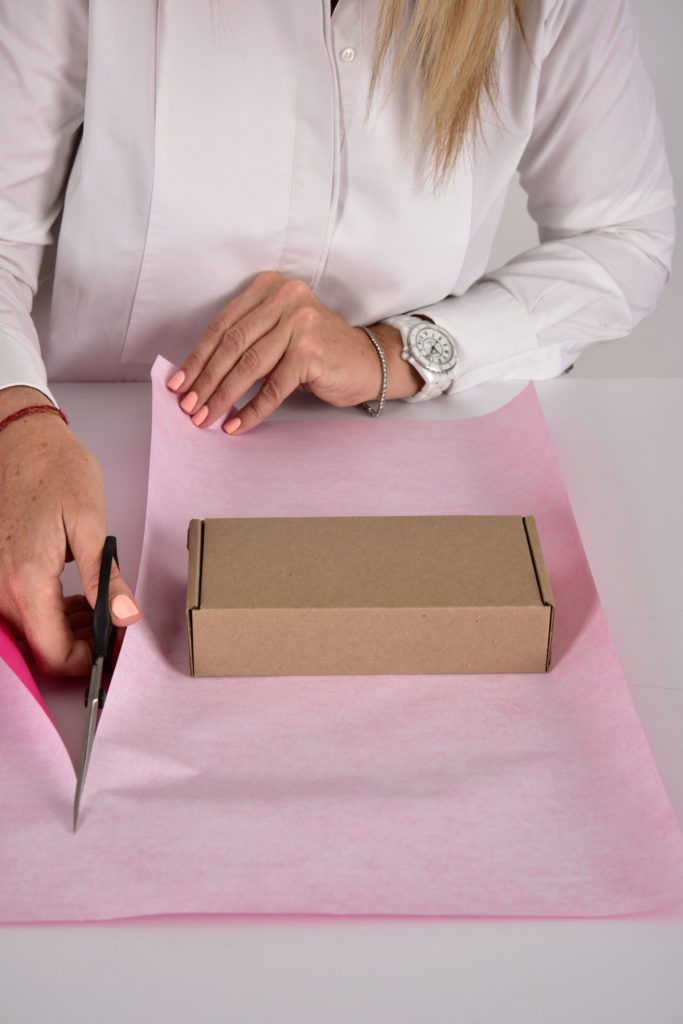
Step 1: Cut the paper so that it’s slightly bigger than the sides of your gift box and ensure you have adequate length to accommodate pleating.
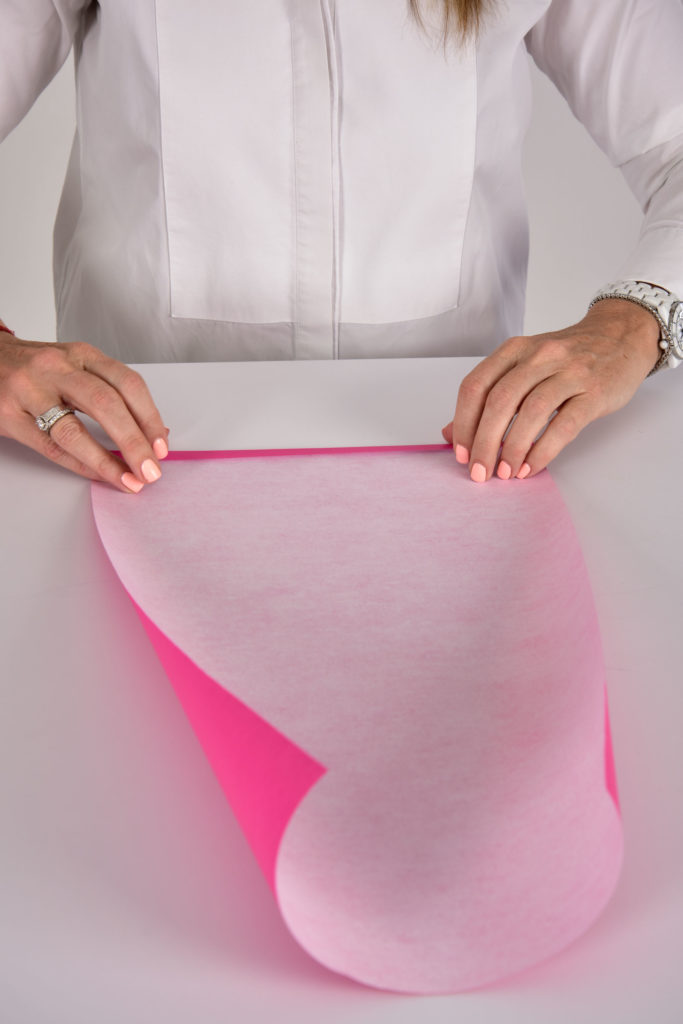
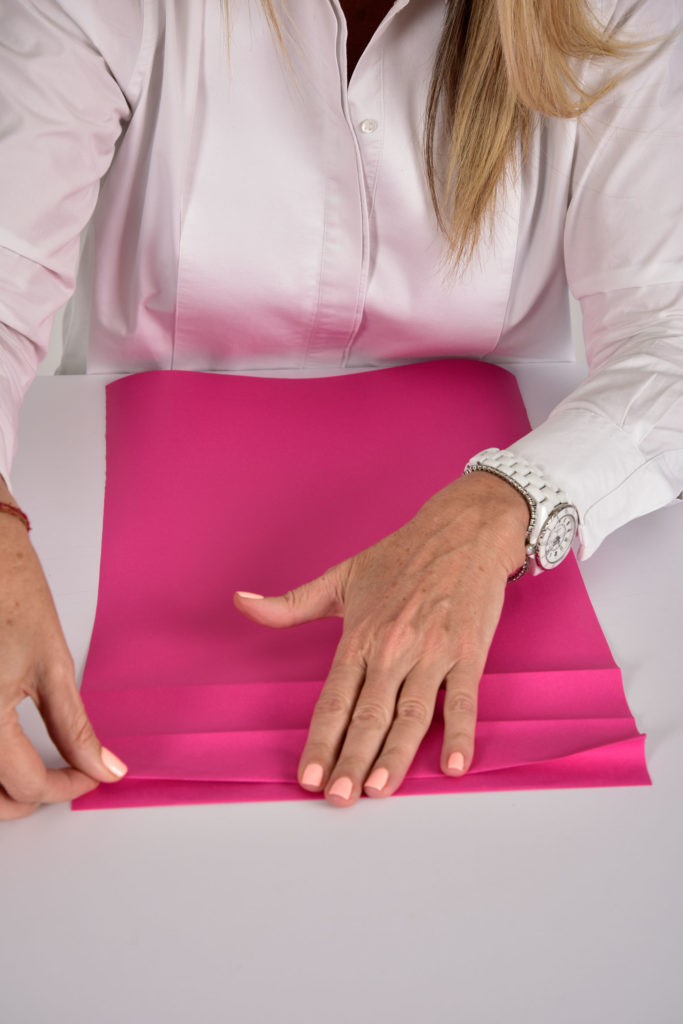
Step 2: Fold a 1cm edge on the wrong side of the paper.
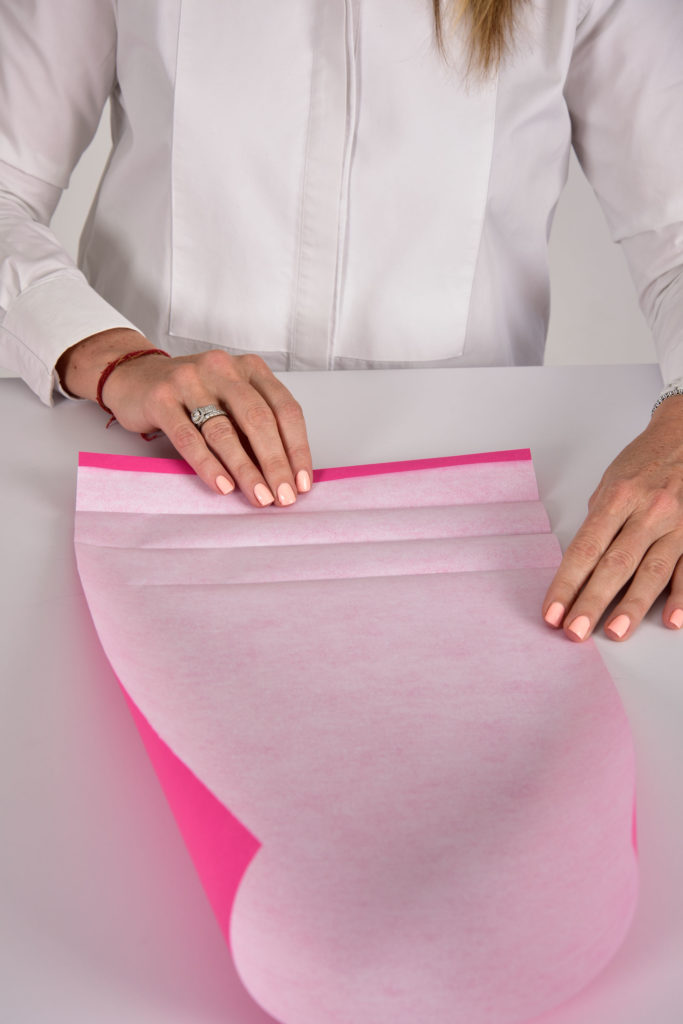
 Step 3:Fold the paper over and over in 2cm folds to create pleats.
Step 4: Unfold and turn the paper back onto the right side. Take the existing folded lines, pinch and gather them to half way before the next fold line to make a pleat. Continue until all the fold lines have been pleated. Secure the pleats with sticky tape on the wrong side of the paper.
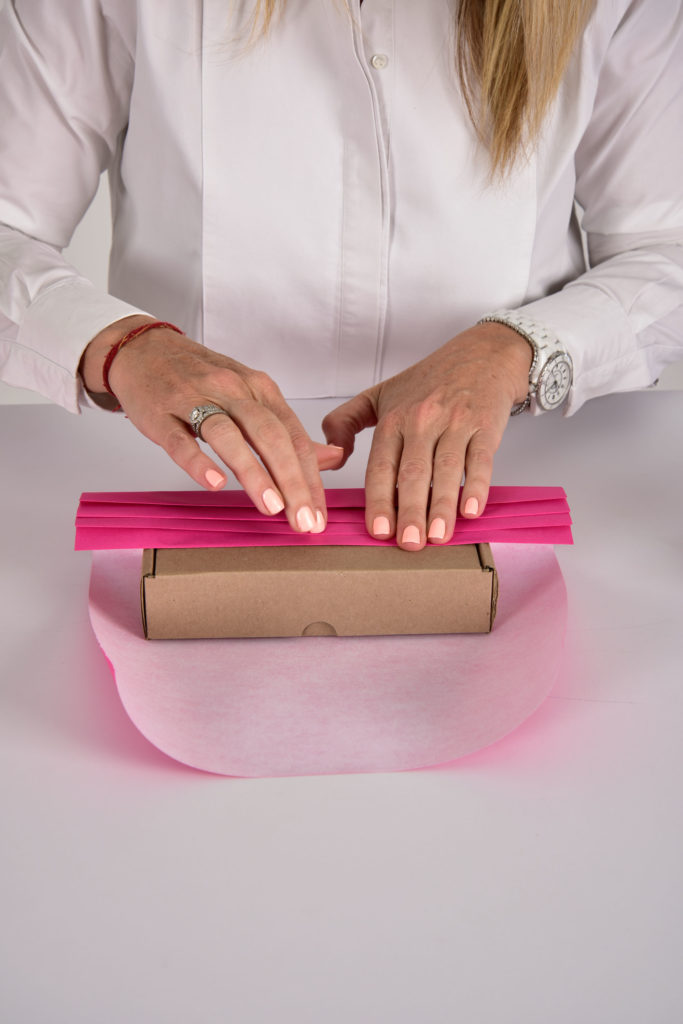
Step 5: Wrap the box by laying the folds in the centre of the top side of the box, making sure the pleats are straight and central. Secure the pleated section to the bottom paper, which you have brought up around the box, using double-sided tape.
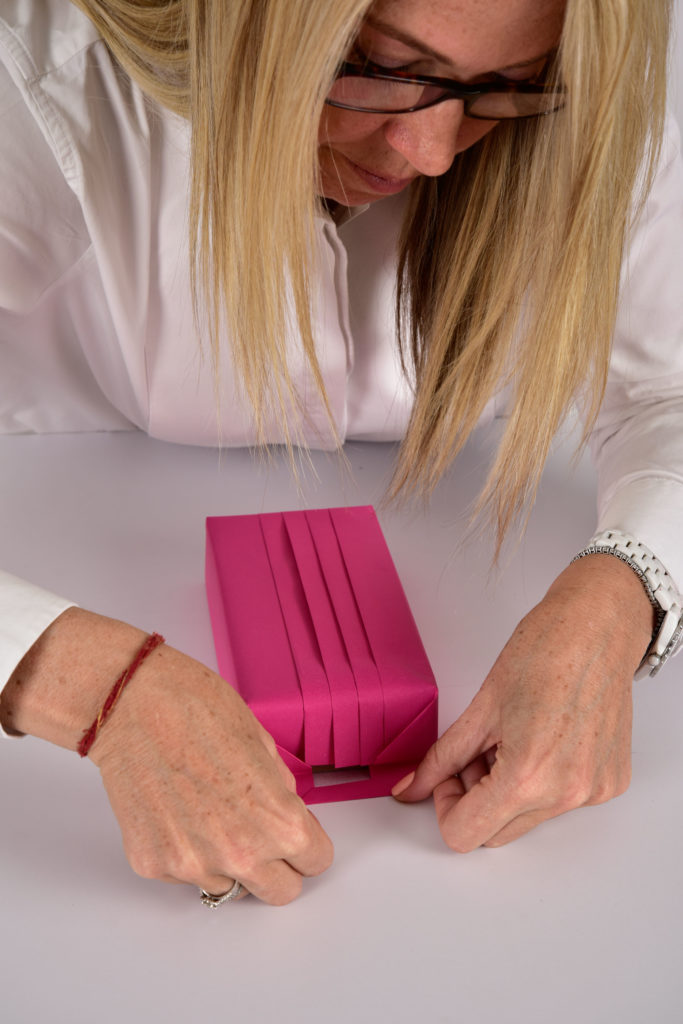
Step 6: Now fold away the sides. Flip the box over (pleats on the top), push the top layer of paper down and, using your fingers, crease the paper into the corners. Repeat on the other side. Fold up the paper – if you don’t get an even point, fold back the paper to meet the lines of the folded sides and then fold inwards to ensure a professional, neat finish on both sides. Secure with double-sided tape.
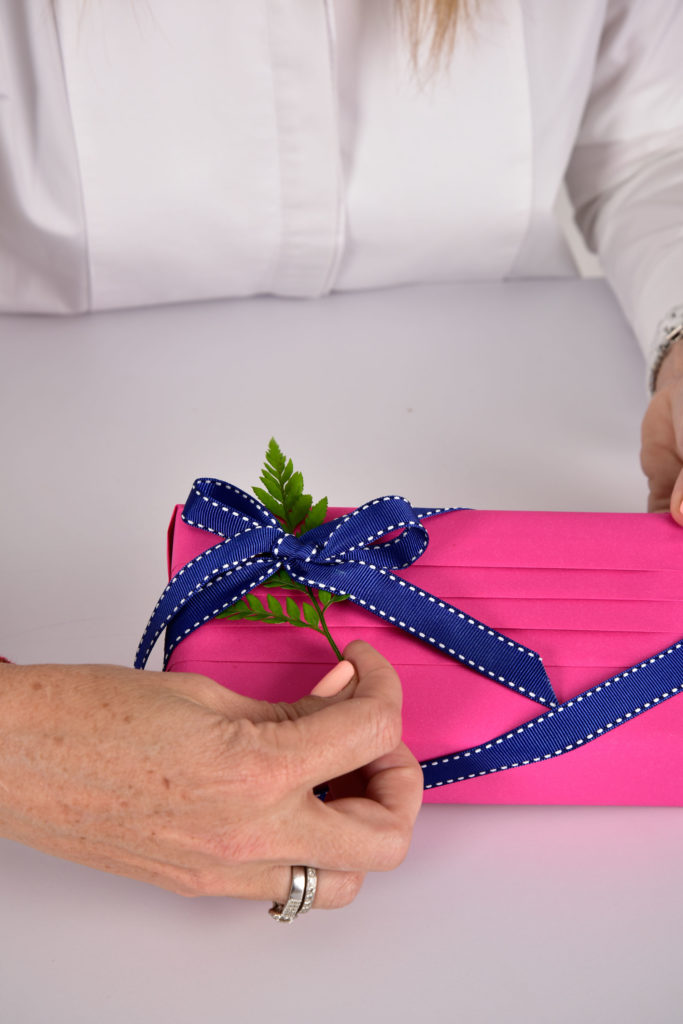
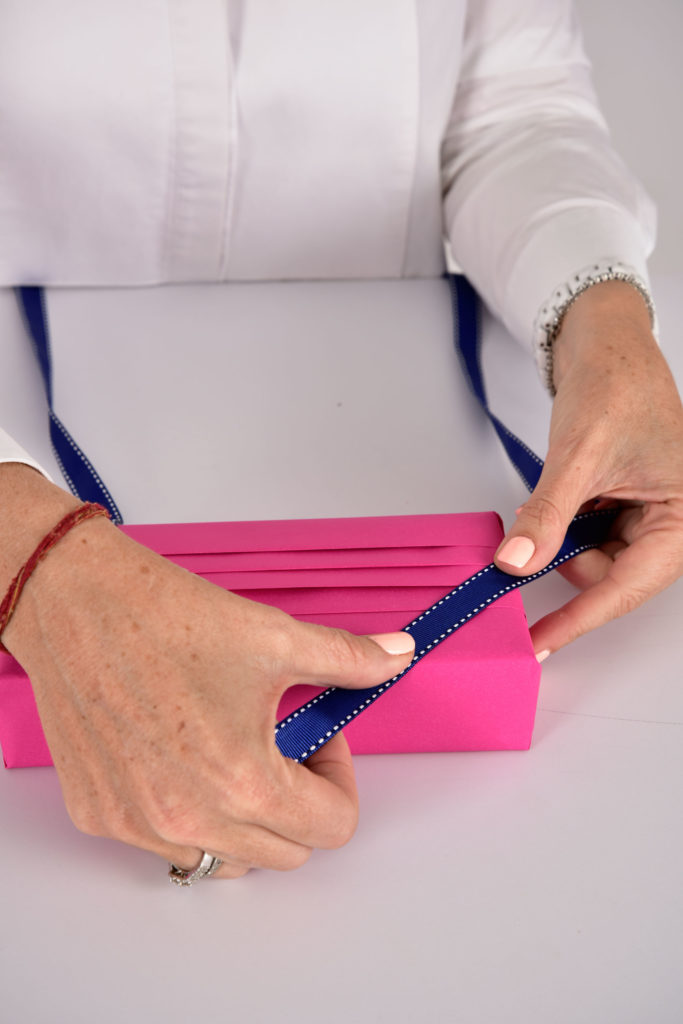
Step 7: Apply a corner bow. Starting at the bottom of the box, use adjacent corners to secure the ribbon and bring it up to tie a bow on the opposite corner of the box.
Step 8: Add a little greenery from your garden to embellish your stylishly wrapped gift.