
When you next get an itch to buy some new plants, opt for the DIY option instead – propagation. For your lesson in the essentials of how to propagate plants in water, landscaper Charlotta Carolissen has you covered.
Many of us live in cities with limited space for gardening. I would like to take you back to the fond childhood memory of growing a bean in cotton wool or rooting an avocado pit over water. Water propagation might just be the saviour to our mouldering fridge landscape or lack of legroom for our urban garden, all while saving us a pretty penny.
Why do we propagate in water?
Water roots are different to soil roots – they are white, thin fragile hairs that are adapted to breathe underwater and keep the plant alive. Plants use less energy to develop these water roots versus planting in soil, making root growth much faster (although this does come with the caveat of being more fragile). Growing cuttings in water eliminates also the guess work in watering and soil composition. It’s a good way to get started and this low maintenance, no mess and visually stunning method will turn your windowsill into a thriving propagation station.
What you will need
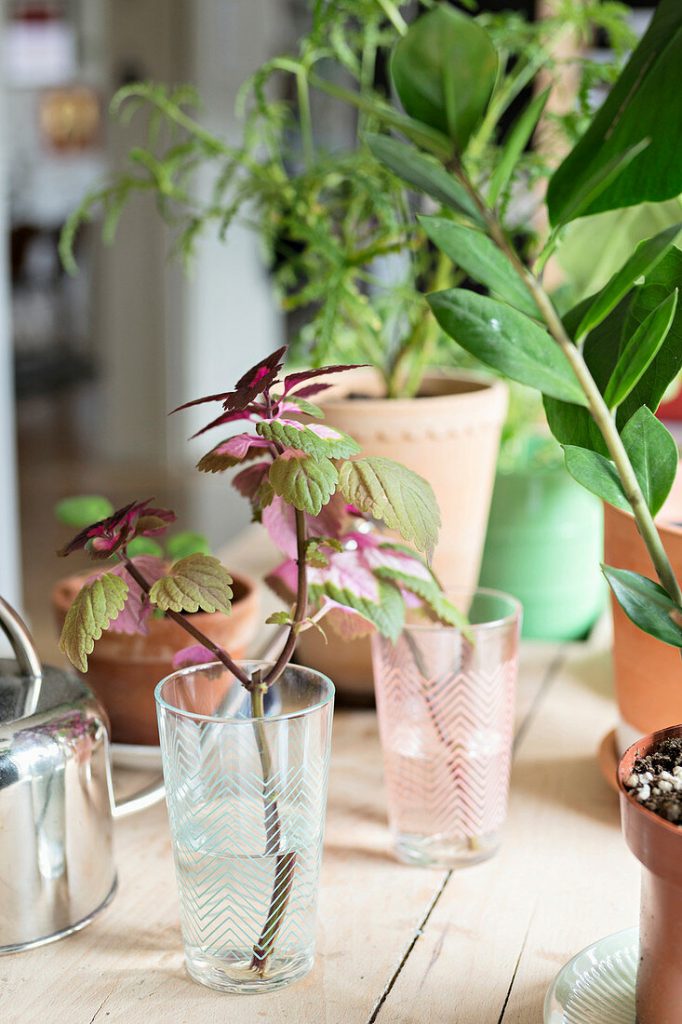
Glass jars in all shapes and sizes and bright indirect light. Look around your home for a wall or window sill with the perfect lighting. Consider installing shelves or hooks to accommodate your new project or start with one glass jar on your window sill.
What cuttings will grow in water?
Most fleshy stem cuttings will develop roots in water. Woody plant cuttings should be planted directly into soil with a rooting hormone. Various ornamental house plants are easily propagated in water:
- Delicious Monster (Monstera deliciosa)
- Pothos (Epipremnum aureum)
- Mother-in-law’s Tongue (Sansevieria)
- ZZ Plant (Zamioculcas zamiifolia)
- Philodendron
Some of the easiest cuttings to grow include herbs and vegetables. If you want a free herb supply at home try basil, mint, oregano, sage, marjoram, chives, spring onion and lemon balm. Before throwing out your vegetables or letting them rot, try re-growing them in water. Lettuce, cabbage, celery, carrot, leeks, green onion, fennel and lemongrass are all easily propagated.
How to make a stem cutting
- Always use a sharp, clean pair of scissors and wash your hands
- Look for the soft, flexible, green new growth on the plant
- Look for a node about 10cm down from the end of the stem
- Make a clean cut at a 45-degree angle 1cm below the node
- Clean the stem by cutting off the leaves leaving only 2-3 at the top
How to divide clump forming plants
Clump forming plants like Mother-in-law’s tongue can be split at the base of the leaves.
- Gently wash the soil off the roots
- Pull apart or cut the clumps to separate
- Cut back stems to 3cm above the area where root and shoot meet.
Water care
- Use room temperature water to fill your jar.
- Some plants are sensitive to the chemicals in tap water – boil the water and let it cool down before use.
- Be mindful of the water level. Don’t submerge any leaves (or crowns on clump-forming plants) in water to prevent rotting.
- Some plants might need support. Make a hole in the lid of the jar for the cuttings to rest on or use toothpicks and mesh.
- Don’t forget to change the water every 3 to 5 days. The water will run out of oxygen and your plant will not develop roots, or the water roots will turn brown due to root rot.
- Rooting will generally occur in a few weeks, but some plants may take longer.
Transplanting cuttings to soil
You may jump to transplant your cuttings the second you see roots, but it’s important to leave your living décor feature going for a little longer. Remove cuttings when the roots are 3 to 4 cm long to give your plants the best start. To ease the transition, you can add a tablespoon of palm peat, vermiculite or perlite every day to your glass jar until the water is replaced with the grow medium. This is similar to the process of hydroponic growth. Do not add fertilizer to the water as it could burn the sensitive roots.
After a few days, gently tug on the top growth to see if the roots are firmly established.
Prepare a suitable sized pot with drainage and create a well with potting soil. Gently scoop out the roots and grow medium and place in the well. Cover the roots with soil and firmly press down. Saturate the soil with water and leave in a bright sunny position with no direct sunlight.
Also read: How to grow microgreens