Healthy microgreens are thickly sown seedlings of edible plants. Tasty, colourful and easy, they can be grown on a kitchen counter or windowsill. Bigger than sprouts and smaller than baby salad leaves, microgreens are picked once they’ve developed two ‘true’ leaves – produced from a stem, not the seed, meaning the plant has already developed roots and therefore contains more nutrients and flavour than a sprout.
They might be small but they pack a mighty punch of goodness, as all the nutrients required for their growth are concentrated in the little seedling: microgreens have many more nutrients, vitamins and phytonutrients than their mature counterparts. Red cabbage microgreens, for example, have forty times more vitamin E, almost seventy times more vitamin K1 and six times more vitamin C than a fully grown plant.
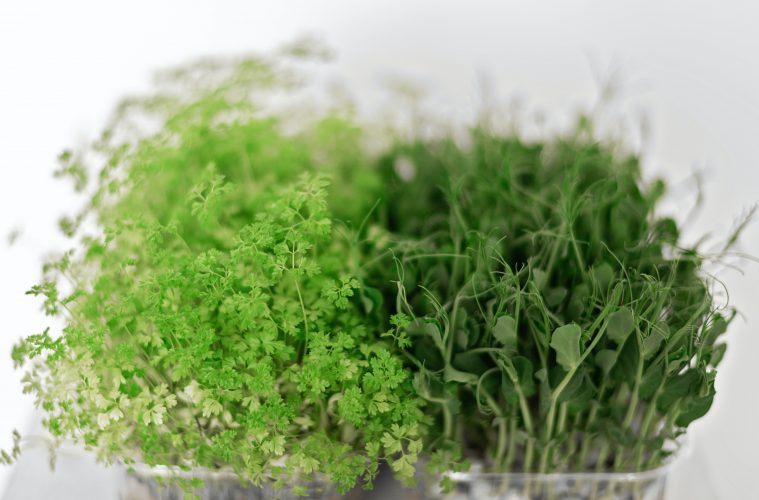
Recycled plastic containers are ideal for growing microgreens, as the clear lid allows light in and creates a microclimate, which is moist for germinating seeds. (Don’t forget to punch some drainage holes in the bottom.) A shallow bonsai container also provides the perfect alternative.
How to grow microgreens
- Start with untreated seeds, free of pesticides and fungicides. Different seeds germinate at different rates, so don’t mix varieties together unless you know they will grow at the same speed. Larger seeds, such as peas, maize and chickpeas, benefit from being soaked for 24 hours before sowing.
- Add a layer of fertile growing medium, 4-6 cm deep, to the container.
- Moisten and firm down. Sprinkle the seeds evenly and thickly over the entire surface – they don’t need the same space as adult plants.
- Cover small seeds with a layer of finely sieved compost and press down; larger seeds don’t need this. An alternative is to cover the surface with a thin cloth or paper towel, then spray it with a mister until completely damp. This creates a moisture-retaining blanket for the seeds and works well for larger varieties. Once the seeds germinate, they’ll push the covering up and it should be removed. Cover with a clear lid to speed up germination.
- Place containers on a windowsill or shelf with plenty of light (but not in full sun). Water every day, and in hotter climates, twice a day. Check they don’t get too humid and hot under the lids, though, otherwise mould can form or the heat can kill the seeds. Once the seeds have all germinated, remove the lids.
- Depending on the microgreen, they can be harvested within 7-14 days by snipping them off at the surface with scissors. Microgreens don’t keep well, so it’s best to harvest them just before eating.
- Some microgreens (such as peas) can regrow. To increase their chances, instead of cutting at the base, snip them just above the lowest leaf. They’re also more likely to regrow if they have a deeper growing medium.
- For maximum nutritional value, eat them raw: add them to salads and wraps, use them as a garnish or layer them in sandwiches. Add any excess to smoothies or, for ones like wheatgrass, grow in bulk and juice.
Words by Jane Griffiths. For more, visit www.janesdeliciousshop.co.za.
Feature image by Mikhail Nilov/Pexels.
ALSO READ: How to grow apricots at home