As dedicated indoor gardeners, we know the thrill of seeing our cherished orchids flourish. These delicate beauties bring a touch of exotic elegance to our homes, but as they grow, they may outgrow their pots or show signs of needing a change. Fear not, repotting an orchid is a simple yet essential task to ensure their continued health and vitality.
How to easily repot an orchid
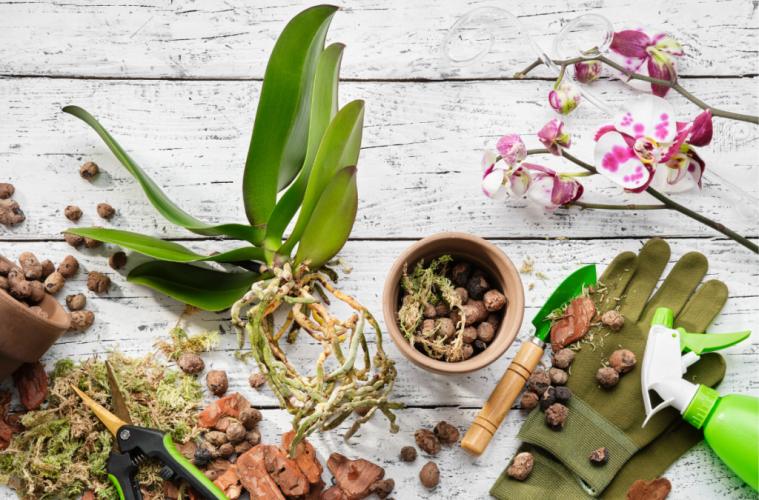
What you’ll need
Before diving into the repotting process, it’s crucial to gather your tools and materials.
- A pair of sharp pruners or scissors
- A trowel or soil scoop
- A clean container with proper drainage
- A bag of specialized orchid potting medium.
Step-by-step repotting guide
Prepare Your Orchid: A day or so before repotting, give your orchid a good watering. This helps it tolerate the stress of being moved. Remember to sterilize your pruners or scissors and wash your hands to prevent any potential spread of disease.
Gentle Extraction: Carefully remove the orchid from its current pot by grasping it close to the roots. Avoid pulling it out by a single leaf, as this could lead to breakage.
Root Care: Once your orchid is out of its pot, delicately loosen the roots and remove as much of the old growing medium as possible. Orchid potting mixes are specifically formulated with bark chips or sphagnum moss to provide optimal drainage and aeration.
Trimming: Inspect the roots and trim away any dead or damaged ones using your pruners or scissors. Healthy roots should be firm and green, while dead ones will appear soggy, shriveled, or discoloured.
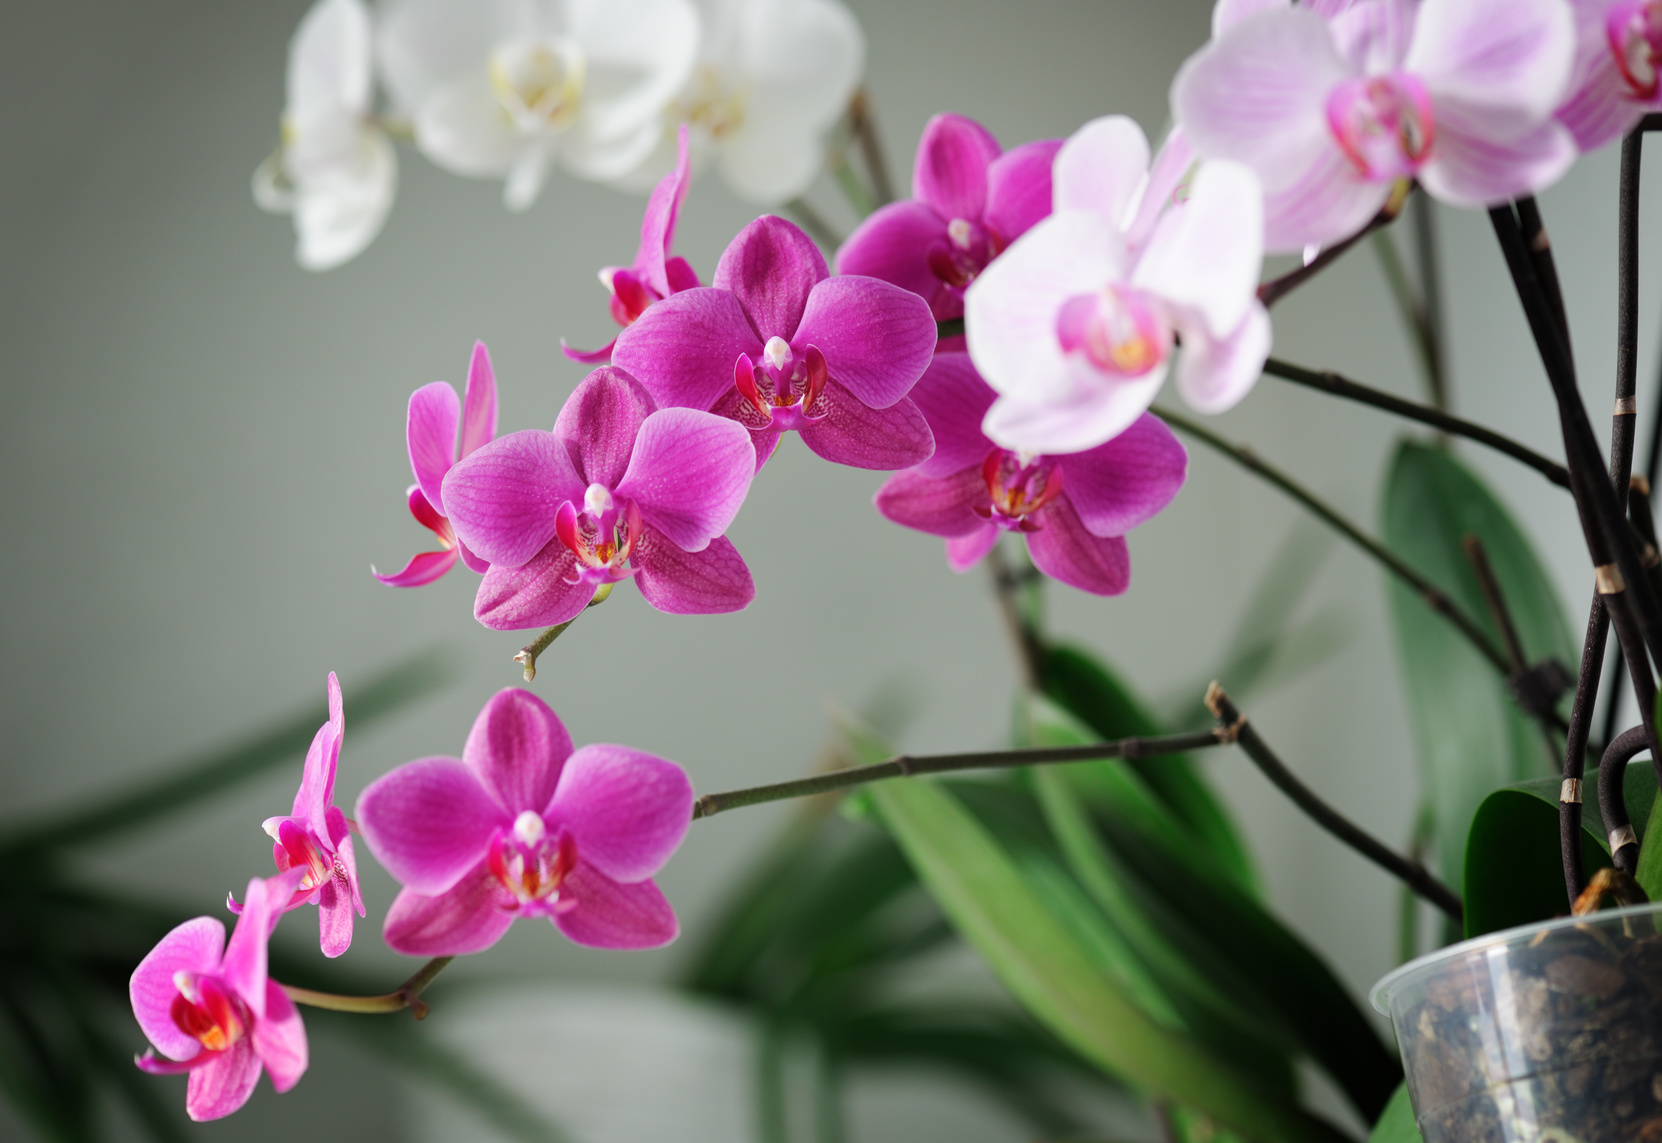
Pexels
READ MORE: GROWING ORCHIDS
Potting Placement: Choose a new container that is only 4-5 centimetres larger in diameter than the current one. While specialised orchid pots are available, any well-draining container will suffice. Position the orchid in the new pot so the base of the leaves sits slightly below the rim.
Adding Medium: Surround the orchid roots with fresh orchid potting medium, tapping the pot gently to ensure even settling. Continue adding medium until the roots are fully covered.
Firm Press: Press down firmly on the top of the potting medium to secure the orchid in place. This helps prevent any shifting or instability.
Watering: Give your newly repotted orchid a thorough watering, ensuring that excess water drains away. If using a saucer, remember to empty it out to prevent waterlogging.
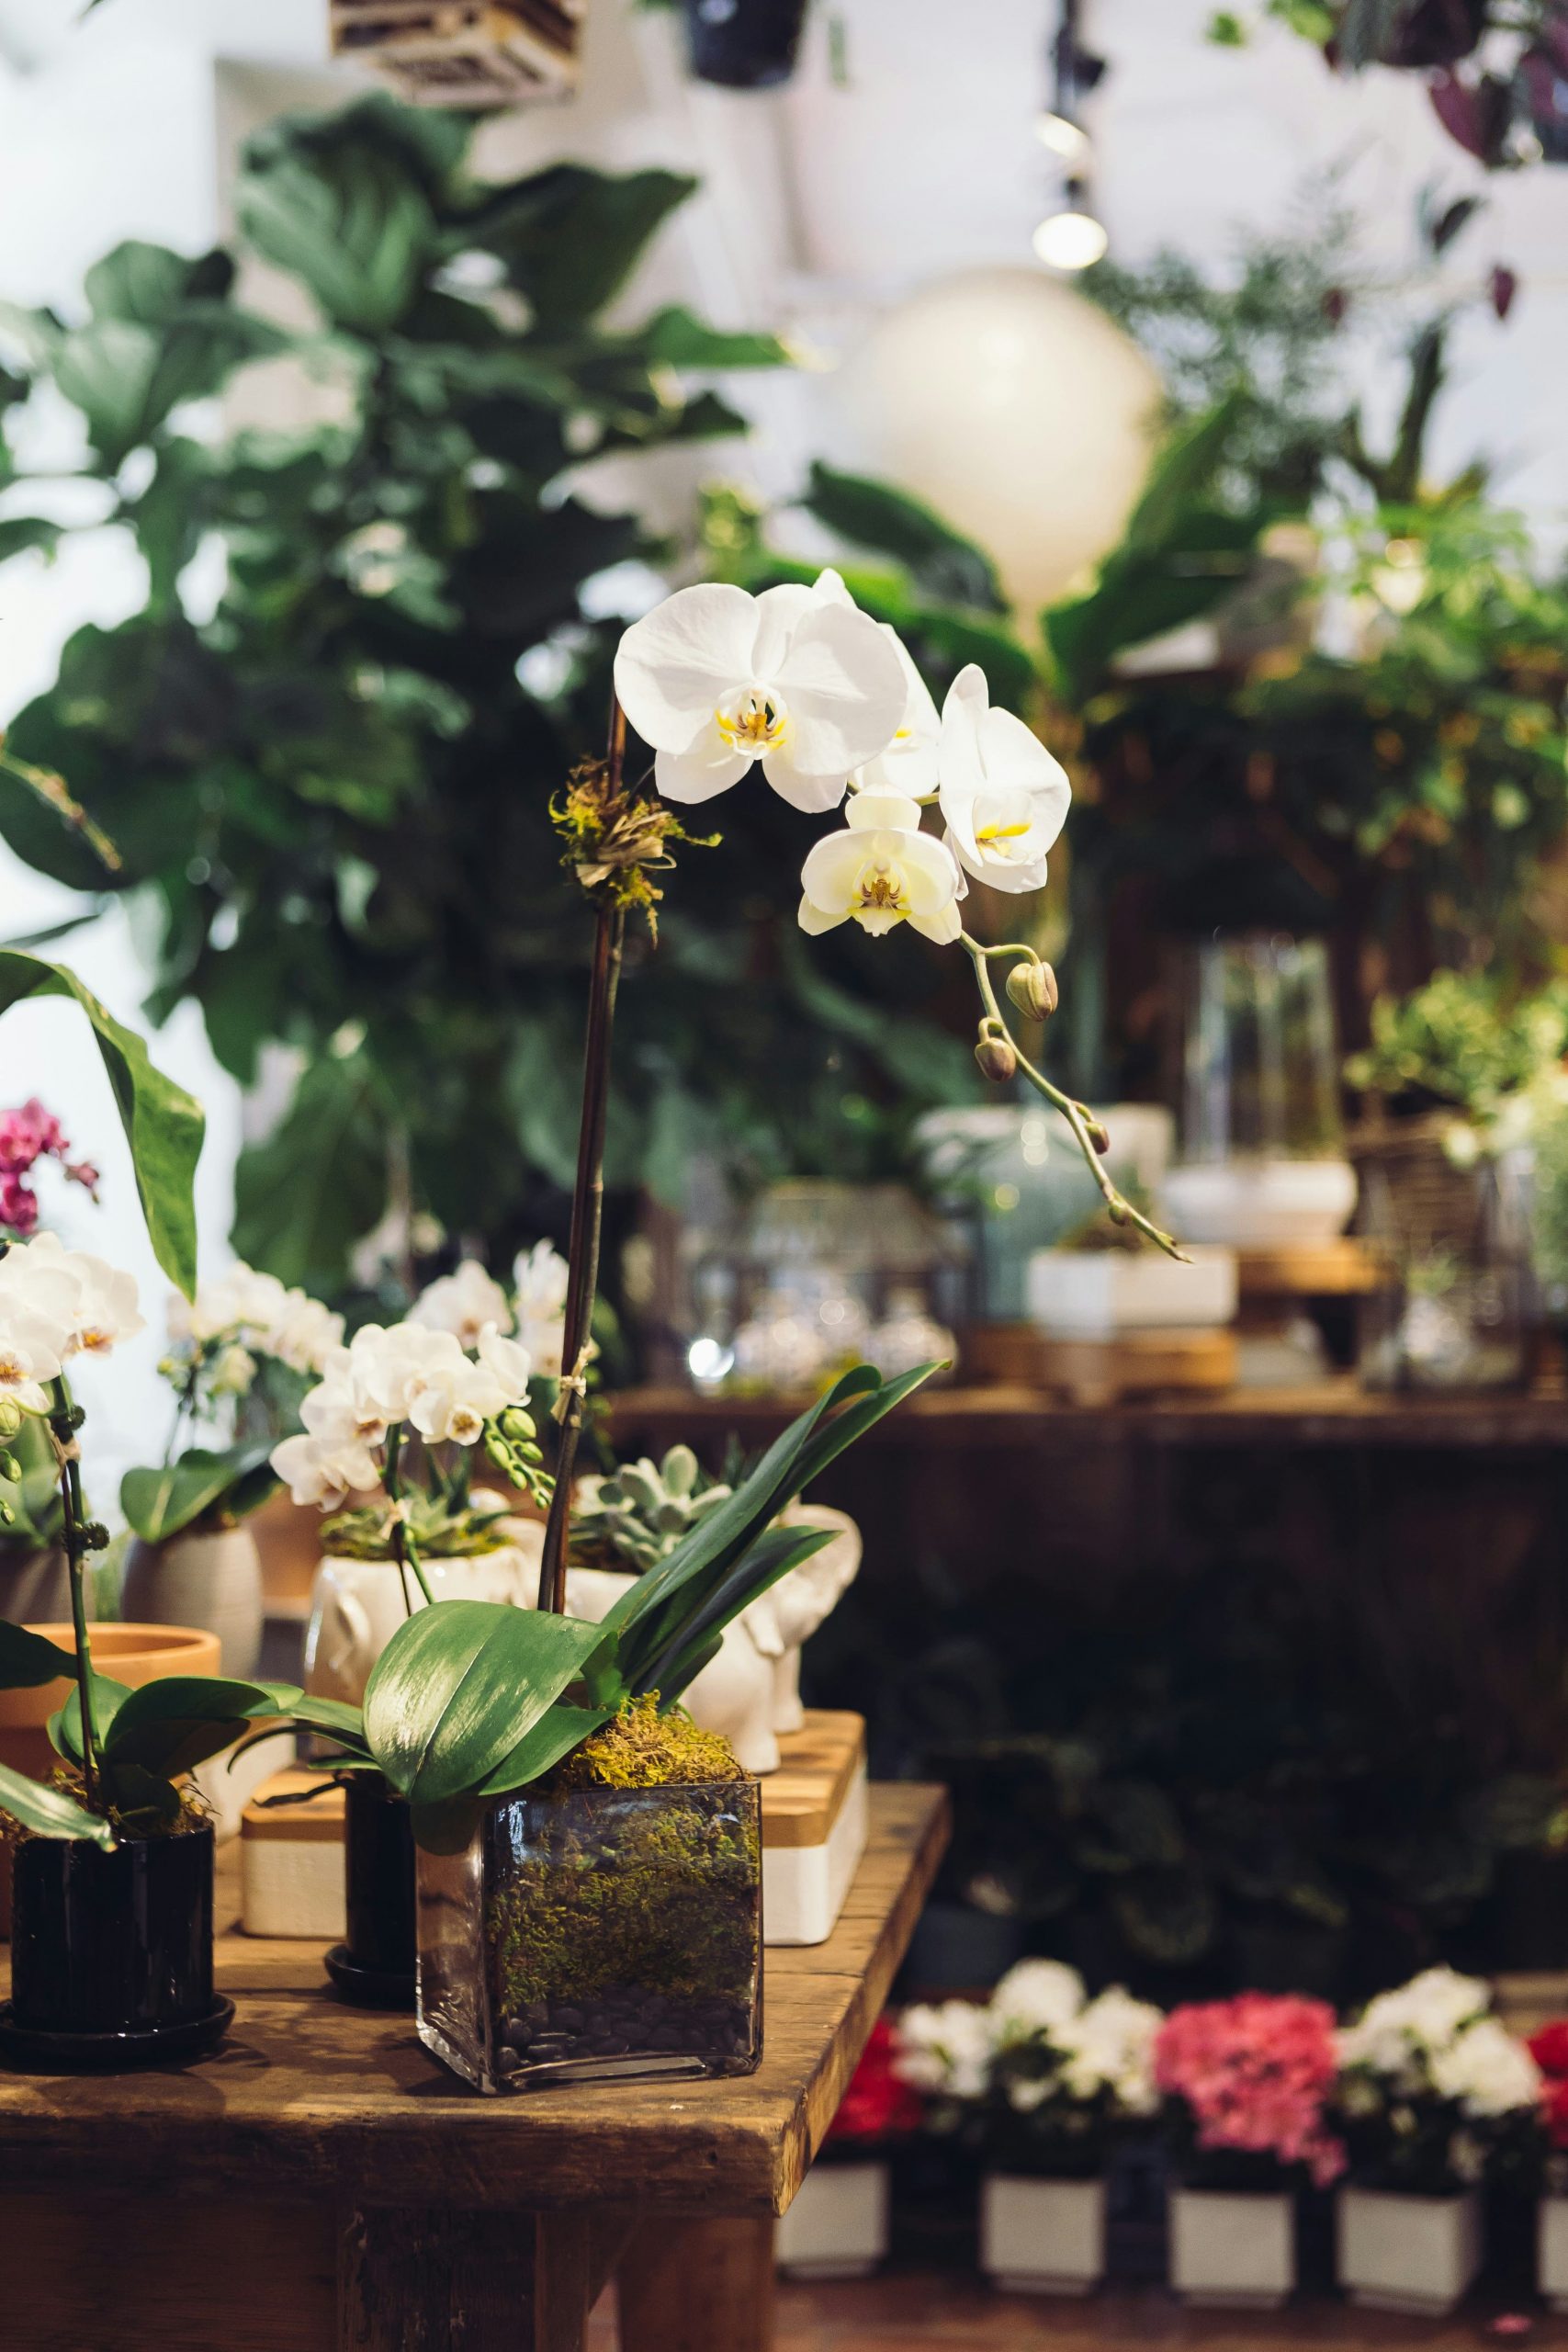
Unsplash
Maintaining your Orchid
Now that your orchid is comfortably settled into its new home, maintain its care routine as usual.
Place it in a location with bright, indirect light and water it when the potting mix is on the verge of drying out. With proper care, your orchid can grace your home with its stunning blooms for one to two years before requiring repotting once again.
ALSO SEE: TIPS FOR TAKING CARE OF YOUR ORCHIDS
Feature image: Potted Pixie