While shoveling handfuls of popcorn into your mouth during a captivating movie, a question may cross your mind — can I grow my own popcorn?
Sure, you can go to any grocery store and buy a bag of popcorn seeds for a few bucks, but where’s the fun in that? Although it’s more effort than a quick trip to the store, growing your own popcorn is an incredibly rewarding experience.
Besides everyone’s favorite benefit (devouring copious amounts of your own delicious snack), homegrown popcorn has more flavor. The different varieties are far more exciting in color and taste than regular popcorn.
Step 1: Make sure it’s popcorn
Not every kind of corn can be popped. Spending months growing an entire crop, only to find out the corn is unpoppable, is bound to put you off popcorn forever — so make sure the variety you plant is the right one. Regular popcorn is easy to find, but the thrill of growing your own popcorn lies in the numerous varieties you won’t find instore.
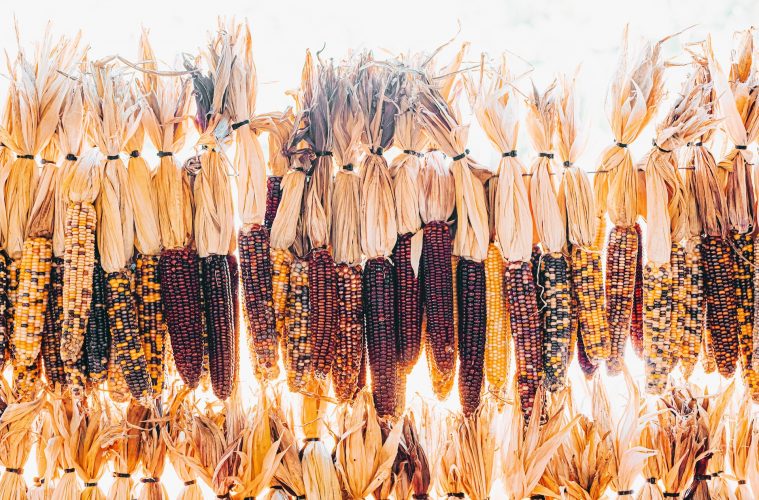
Dakota Black Popcorn: A beautiful deep purple/black color with a slightly nutty taste. The black kernels may make the popcorn look burnt, but don’t let it fool you — it’s extremely tasty.
Strawberry Popcorn: Named for its ears that look like large strawberries, this corn is a smaller plant but packs big flavor. The rich red color adds brightness to the garden and kitchen. Be warned: once you eat strawberry popcorn, no other store-bought popcorn can compare.
Glass Gem Popcorn: When this surreal phenomenon circled the internet a few years ago, it was almost impossible to believe it was natural. Each kernel has a glossy color that forms a collection of gems — hence the name. Its primary use is popcorn, creating a bowl of colorful kernels in a sea of white.
Step 2: Plant
To grow popcorn, the seeds should be fertile. Some lucky gardeners have found success using seeds from the grocery store, but the processing treatments the seeds receive often prevent germination, and some kernels may be too old to sprout. Buying from a nursery or seed company is the safest option.
The crop should be planted from late winter to early summer for effective growth. Soak the seeds in warm water for 12 hours before planting in a sunny spot with well-draining soil. Water often until the corn is ready to harvest. When the plants reach knee-height, pack extra soil around the stalks for support.
Step 3: Harvest
In approximately 100 days (depending on the variety of popcorn), the corn will be ready to harvest. The kernels need to be dried out before cooking — leave on the stalks to dry out in the sun. Ensure the kernels are completely dried before removing as excessive moisture makes it difficult to cook.
In areas with high rainfall, it may be hard to dry the corn on the stalk fully. Instead, dry the corn in the oven. Preheat the oven to 150°, and once the corn is in, turn the heat down to the lowest setting. After 5 hours, turn the heat off and leave to cool in the oven overnight. All that’s left is to enjoy!
Step 4: Cook
Cooking popcorn on the stove can be a tricky battle between chewing on dry seeds or coughing through black popcorn ash. For perfect popcorn every time, heating is key.
Heat oil in a pot on medium-high heat and throw 3 kernels in. Once those 3 kernels have popped, add the rest of the popcorn, put the lid on, and remove from the heat for 30 seconds to allow the new kernels to come to the same temperature.
Return to the heat and continuously shake gently until you hear a few seconds between each pop. Take off the heat and enjoy the fruits of your labor — making the short journey from your garden to the couch for movie night.
Featured image: Sunira Moses via Unsplash