In a world where organisation and tidiness are essential for productivity and peace of mind, a well-organised drawer can make all the difference. Whether it’s in your kitchen, home office, or any other room in your house, a DIY drawer organiser can help you declutter and streamline your space. In this article, we’ll guide you through a creative and budget-friendly project to create your own drawer organiser that’s not only functional but also adds a touch of elegance to your decor.
Materials you’ll need:
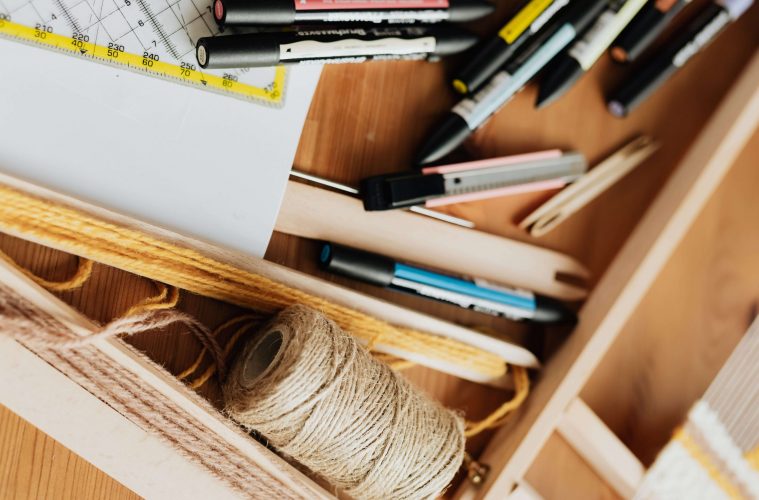
Before we dive into the steps, let’s gather the materials and tools you’ll need for this project:
-
- A wooden drawer organiser base (can be purchased at a craft store or online).
- Wooden dividers (you can buy these pre-cut or cut them yourself).
- Sandpaper (various grits).
- Wood glue.
- Clamps.
- Paint or stain (optional, for finishing).
- Paintbrush or foam brush.
- Measuring tape or ruler.
- Pencil.
- Saw (if cutting your dividers).
- Safety goggles and gloves (for safety while cutting and sanding).
Let’s get started
Step 1: Measure and Plan
Start by measuring the dimensions of your drawer. This will help you determine the size and arrangement of your dividers. Consider what you plan to store in the drawer, whether it’s utensils, office supplies, or any other items, and plan accordingly.
Step 2: Cut the Dividers
If you couldn’t find pre-cut dividers that fit your needs, use a saw to cut wooden strips to the required lengths. Ensure that the dividers are all the same height to maintain a uniform look.
Step 3: Sand the Dividers
Use sandpaper to smooth the edges and surfaces of the dividers. Sanding will not only make them look more polished but also prevent splinters.
Step 4: Assemble the Dividers
Arrange the dividers within the drawer organiser base to create the desired compartments. Use wood glue to secure the dividers in place. For added stability, clamp the dividers until the glue dries completely. Follow the manufacturer’s instructions for drying times.
Step 5: Paint or Stain (Optional)
If you want to add a personal touch to your drawer organiser, consider painting or staining it to match your decor. Apply one or more coats of paint or stain, allowing each coat to dry thoroughly before adding the next.
Step 6: Test and Adjust
Once the organiser is completely dry, test it by placing your items in the compartments. Make any necessary adjustments to the dividers to ensure a snug fit for your belongings.
Step 7: Place in Your Drawer
With your DIY drawer organiser complete, gently place it into your kitchen or home office drawer. It should fit perfectly, creating a neat and organised space for your items.
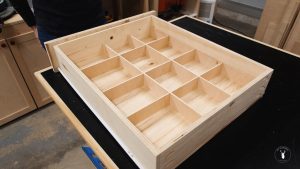
Image credits: DIY Montreal
Creating your own DIY drawer organiser is not only a practical solution for decluttering your kitchen or home office but also a fun and creative project. By customising the size and design to your specific needs and style preferences, you’ll not only enjoy the benefits of an organised space but also take pride in the beautiful and functional piece you’ve created. So, roll up your sleeves and get ready to transform your drawers into organised havens of order and elegance.
A version of this article was originally published in the Garden&Home February 2023 printed magazine.
Feature image: Pexels