
Use these stylish cement trees to create an eye-catching mantelpiece display
YOU MIGHT LIKE: Christmas tree alternatives
What you’ll need:
- Cement (we used a 5kg bag)
- Plastering sand
- 2 buckets
- Gravel or sand: to support the cones when drying
- Small spade for mixing
- Scissors or knife
- Heavy duty plastic/acrylic sheeting: it needs to be flexible enough to roll up but also remain strong enough to hold the cement mixture. We used an A0 size sheet from The Plastics Workshop. An old laminated poster could also possibly do the trick.
- Packaging tape: to secure the cone together
Directions:
1. Make the cone moulds out of the plastic sheeting. Start by rolling from one corner of the sheet until it resembles a cone. When happy with the shape, roughly draw and then cut it out. Roll it into a cone again and tape up with packaging tape. Pay special attention to the tip of the tree, tape this up well so that the cement can’t drain out.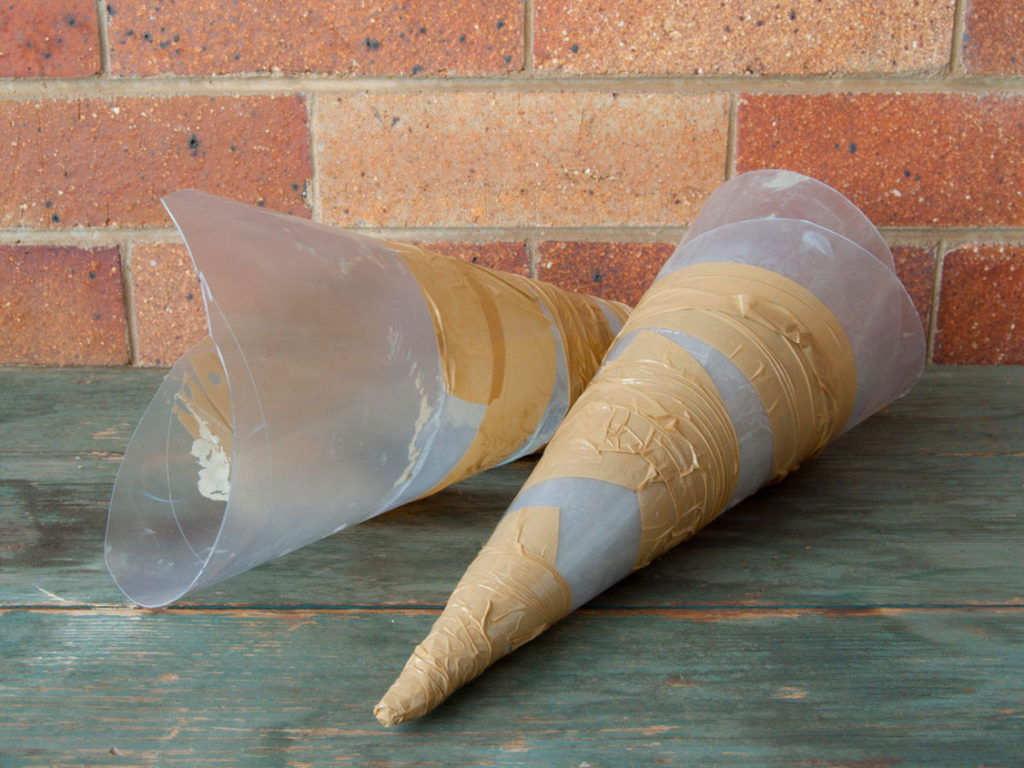 2. Mix a batch of cement using one part cement, one part sand and a half part water. Mix together well until uniform in colour. It should be the consistency of thick porridge (able to pour but not too runny).
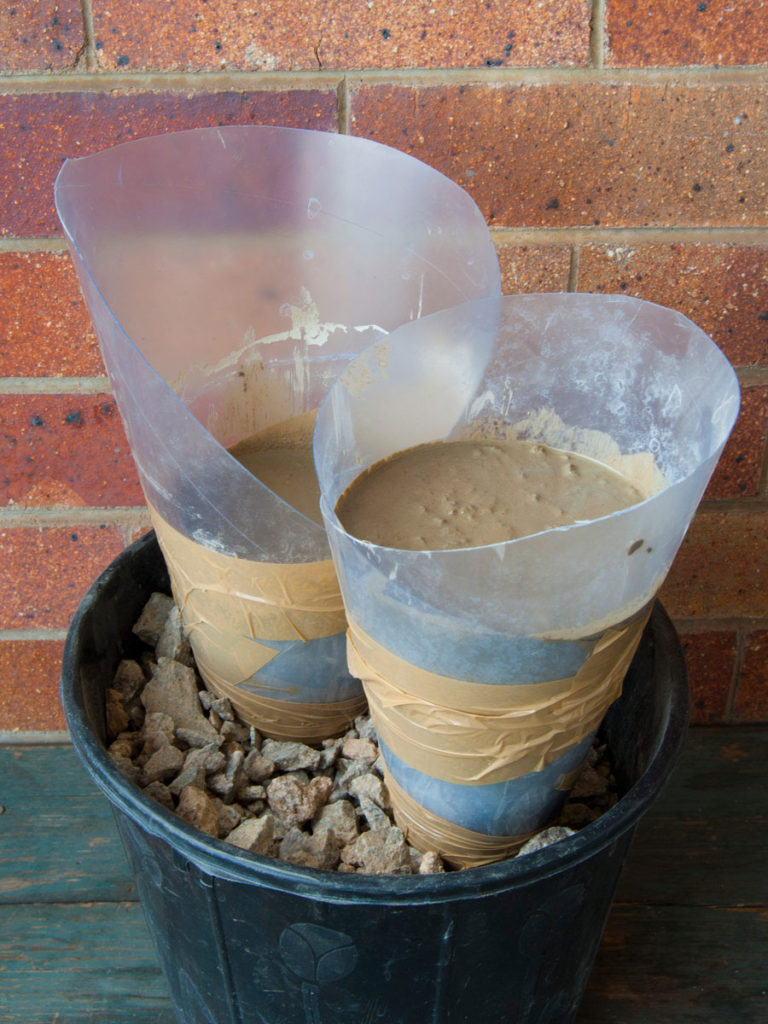
3. Pour the mixture gradually into the cones, shake it down occasionally in between pouring to prevent large air bubbles.
4. Position the cement-filled cones in a bucket with gravel or sand as support. Try to ensure the cones remain as upright as possible, otherwise the trees will dry skew.
READ MORE: 3 DIY festive wreaths
 5. Leave to dry for at least 24 hours then carefully cut away the plastic sheeting and remove the finished tree. Now you can experiment by taping up the trees with masking tape and painting the tops. We used spray-paint to get a metallic finish.
Note: Glue felt or cloth cut to shape to the base of each tree so they don’t scratch surfaces.