
As an alternative to a traditional Christmas tree, make one from copper piping and connectors. Here’s how to make a Christmas tree from copper piping.
DOWNLOAD DIAGRAM WITH MEASUREMENTS STEP-BY-STEP INSTRUCTIONS

INSTRUCTIONS
- Cut all the copper pipe pieces according to the sizes on the diagram (download above). Pay close attention when cutting all the vertical struts so that the length of each pipe matches up. Place them side by side to check.
- Connect all the copper fittings and lengths of pipe together without gluing to check that everything lines up. *It will be unstable at this stage but the glue will fix that.
- Glue the vertical pipes with the t-pieces according to the diagram with a small stick or paddle. Use a straight edge to make sure they’re straight and lay flat on a surface to dry.
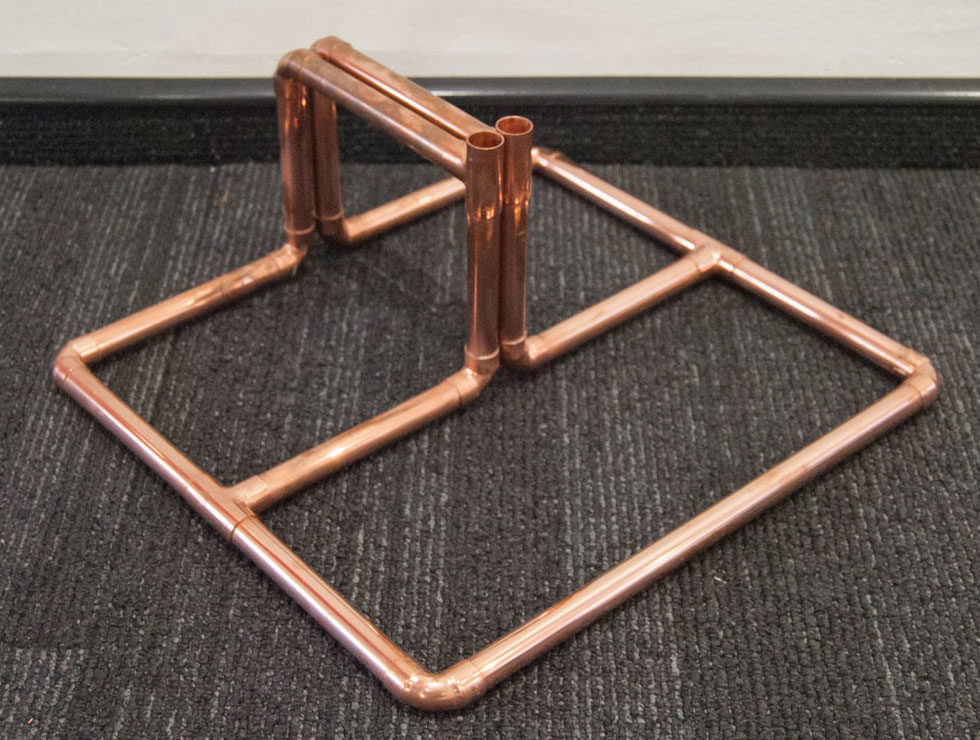
*Mix Pratleys Quickset Clear two-part epoxy together in small quantities as it dries quickly. Paste the glue inside the t-pieces and elbows rather than on the pipes for a cleaner finish. - Fit and glue the base together. See diagram and also the image below for reference. Make sure it’s as straight as possible before the glue dries.
- Allow epoxy to set overnight for strength and then fit the pieces together the next day. It isn’t necessary to glue the horizontal struts or the connection from the tree to the base as these will just slot in place.
- To finish off, neatly tie the top of the tree with thin wire to hold it together and polish the finished structure with Brasso.
More Christmas tree ideas: 4 New ideas for Christmas trees

Here’s a short video on how to cut copper pipes:
*You can have pipes cut to size at a hardware store, but you’ll get a smoother effect with a pipe cutter.