
 Chumasande Matiwane
A dripping showerhead can waste water and become a frustrating household issue. However, many leaks can be fixed using a few basic tools and simple DIY steps.
Before you begin, identify the source of the leak. If the water is seeping between the showerhead and the shower arm, it could be due to a loose connection, a worn gasket or washer, debris, or a problem with the thread seal. Additionally, mineral deposits around the spray holes may cause an uneven spray or leaking.
What you will need
- Adjustable wrench
- Plumber tape
- Replacement rubber
- Soft cloth
- Old toothbrush
- White vinegar
- Small container
Image Credit: Getty Images
Step 1: Turn off the water
Switch off the shower and make sure no water is running before you begin. Place a cloth over the drain so that small parts do not accidentally fall in.
Step 2: Check the connection
If water is leaking where the showerhead connects to the shower arm, first check whether the showerhead is loose. Wrap a cloth around the connection to protect the finish, then gently tighten it using an adjustable wrench. Avoid overtightening, as this can damage the connection or create another leak.
Step 3: Remove and inspect the showerhead
If tightening does not solve the problem, unscrew the showerhead and inspect the rubber washer or gasket inside the connection. A worn, compressed or damaged gasket may need to be replaced. Also check for dirt or mineral deposits around the connection and debris screen.
Step 4: Clean away mineral deposits
If the showerhead has limescale or mineral buildup, you need to soak the removable showerhead in a mixture of white vinegar and water. A soft toothbrush can help loosen deposits around the spray holes. Cleaning the showerhead can improve the spray pattern and may resolve leaks caused by mineral buildup.
Step 5: Reapply plumber’s tape
Remove any old tape from the shower arm threads and apply a small amount of fresh plumber’s tape before reinstalling the showerhead. Don’t use excessive tape, as too much can increase the diameter of the connection and potentially damage the nut when it is tightened.
Step 6: Reinstall and test
Screw the showerhead back onto the shower arm by hand and tighten it gently. Turn on the water and check the connection. If water is still escaping from the connection, turn the water off and check the washer, threads and tape again.
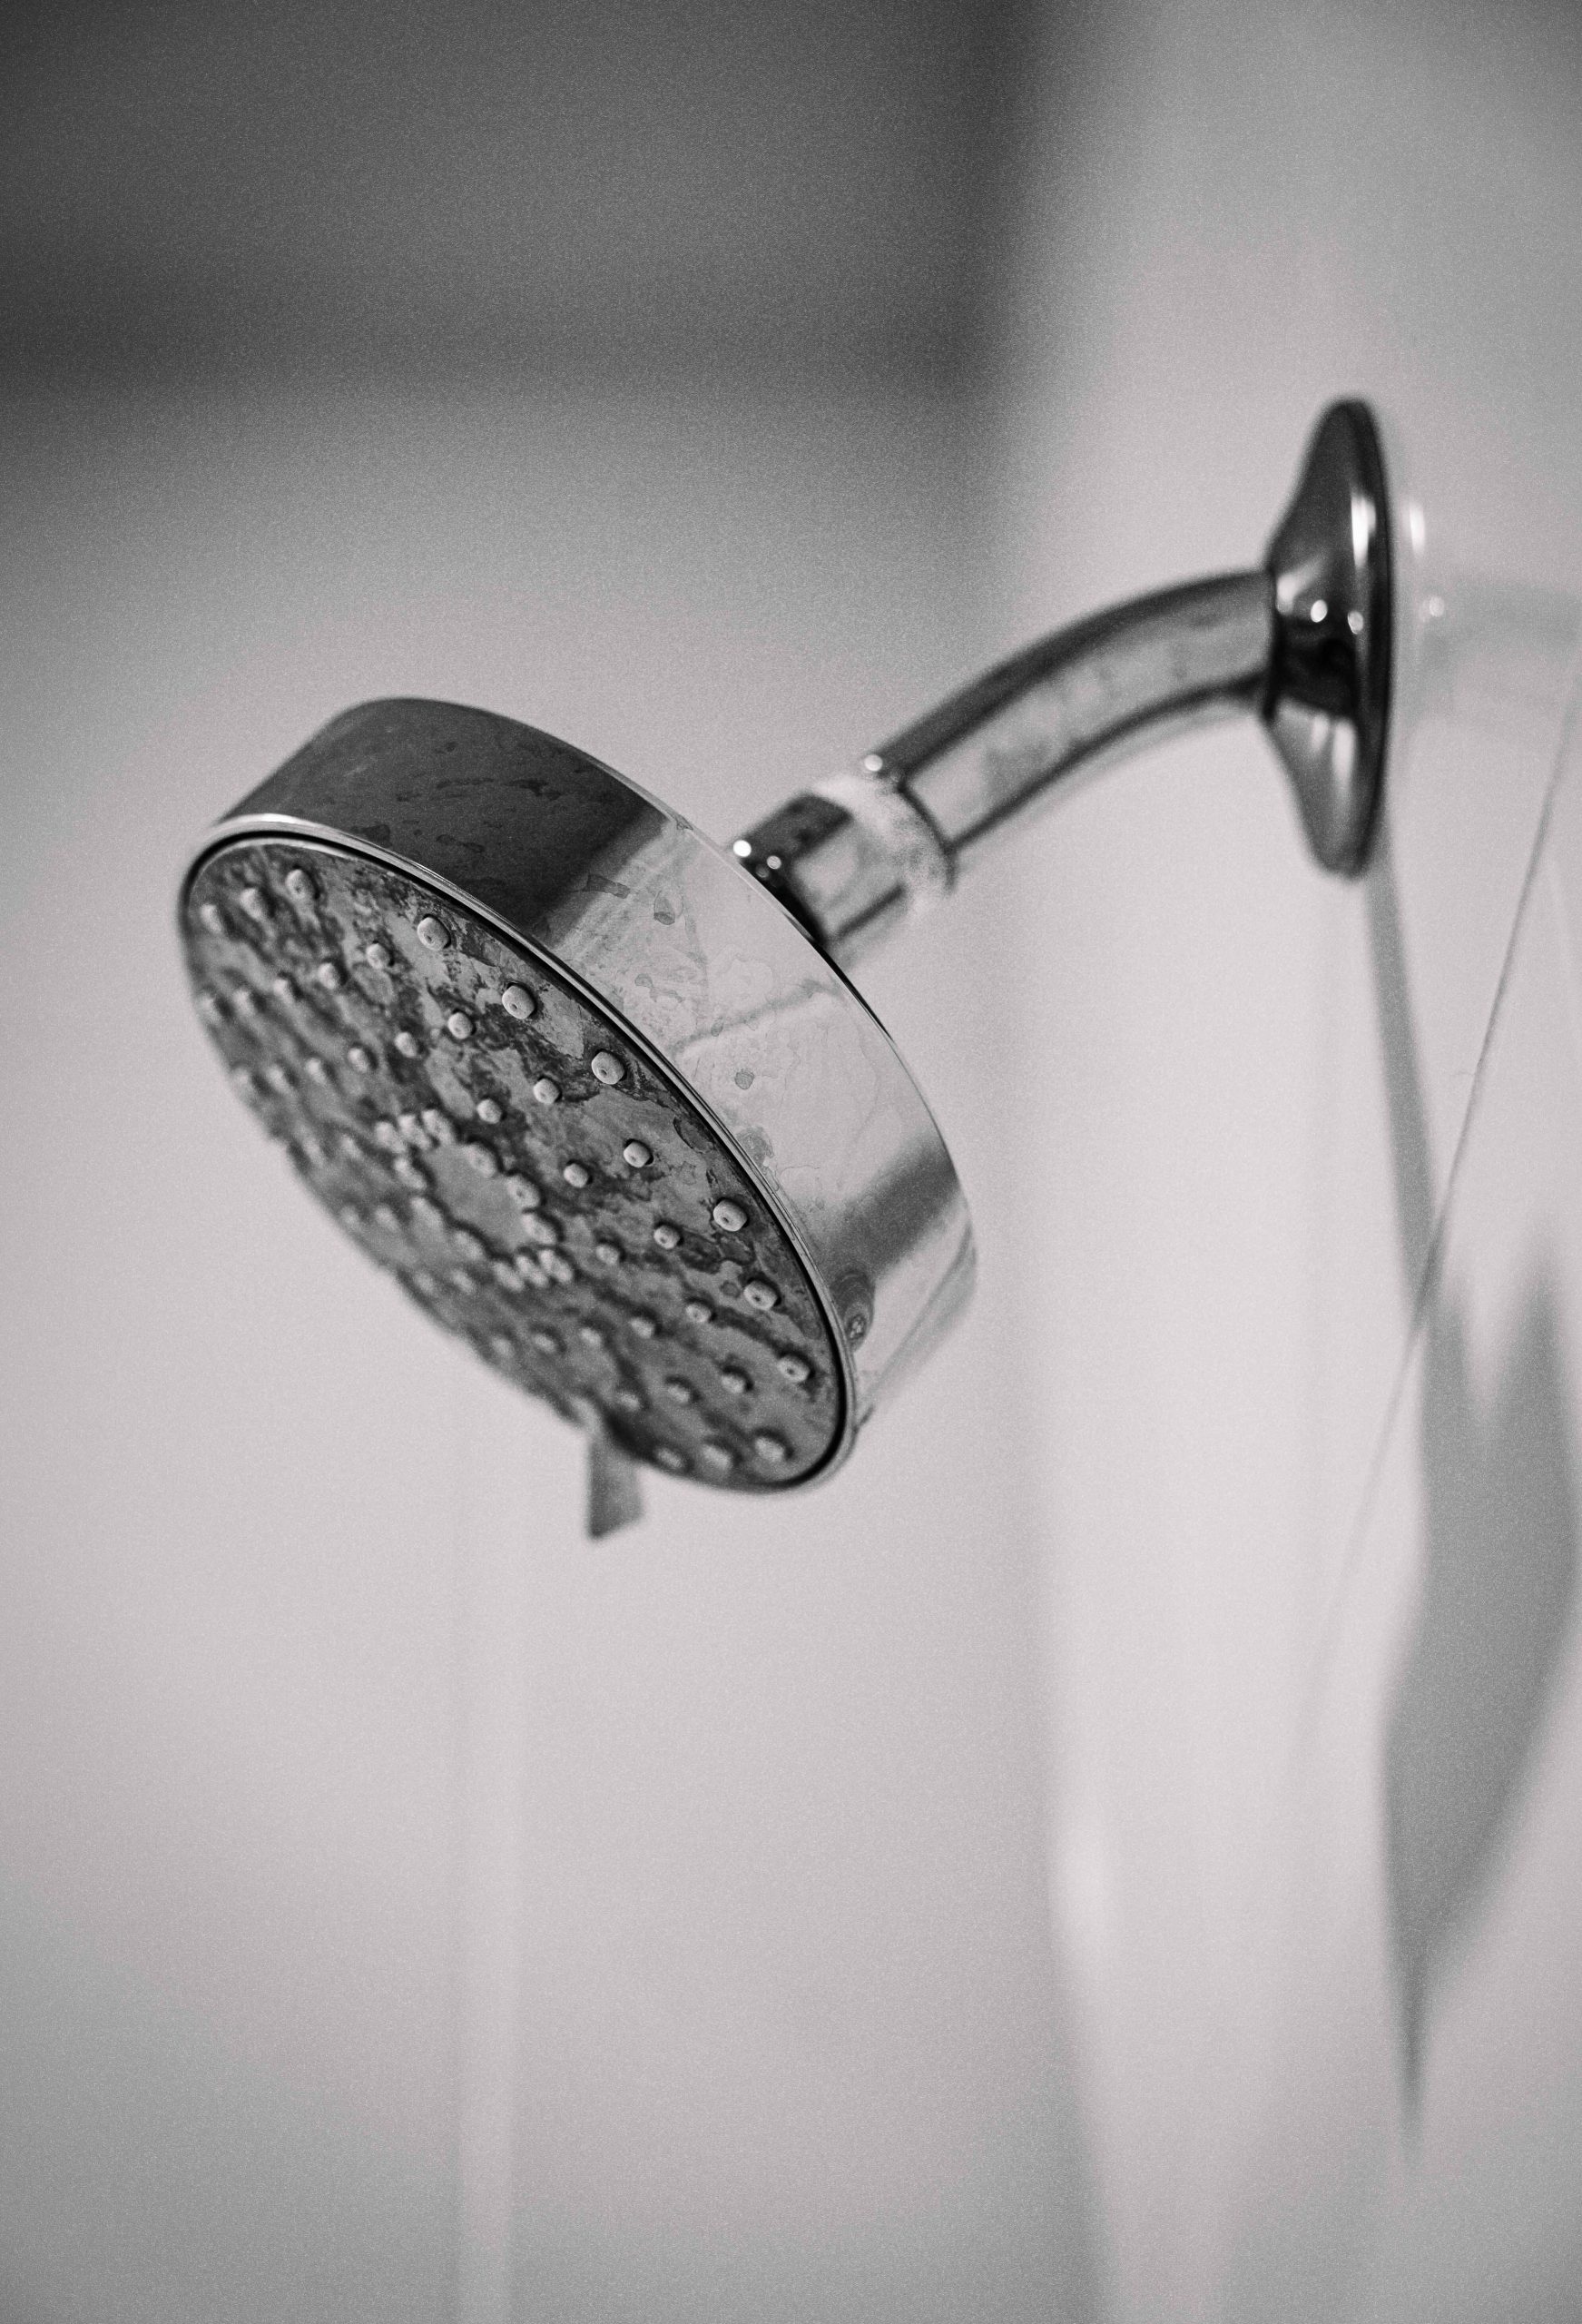
Image Credit: Pexels
Not every showerhead leak can be fixed with a simple DIY repair. If the showerhead itself is leaking through a seam or internal component, replacement may be necessary.
ALSO SEE:
Stylish on a budget: Decorating ideas for your bachelor apartment
Feature Image: Pexels
