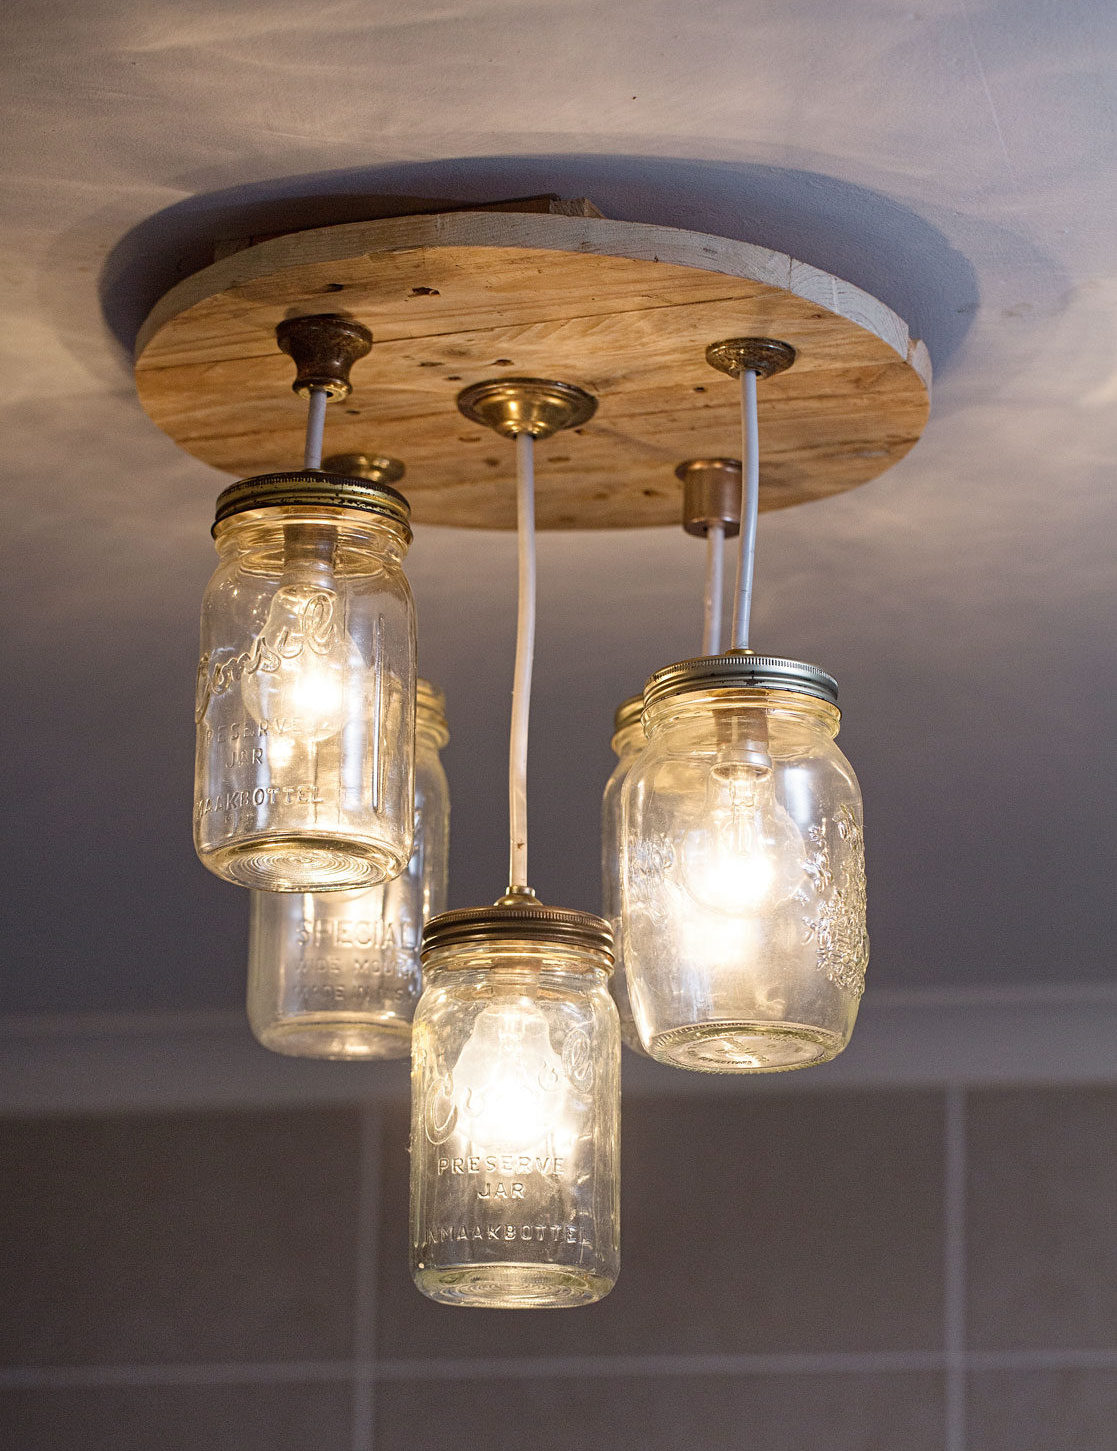
In an extract from her book Vintage Remakes, Carla Visser demonstrates how to turn old Mason or Consol jars into a rustic chandelier
*If you are unsure about connecting electrical wires, consult a qualified electrician
WHAT YOU’LL NEED
- Safety gloves
- A drill
- A 25mm drill bit
- 5 Mason / Consol jars with screw-on lids
- 5 light fittings
- 5m of 8mm electrical cord
- Cutter
- Piece of wood
- Pencil
- Jigsaw
- An 8mm drill bit
- Nails
- Sturdy screws
HOW TO DO IT
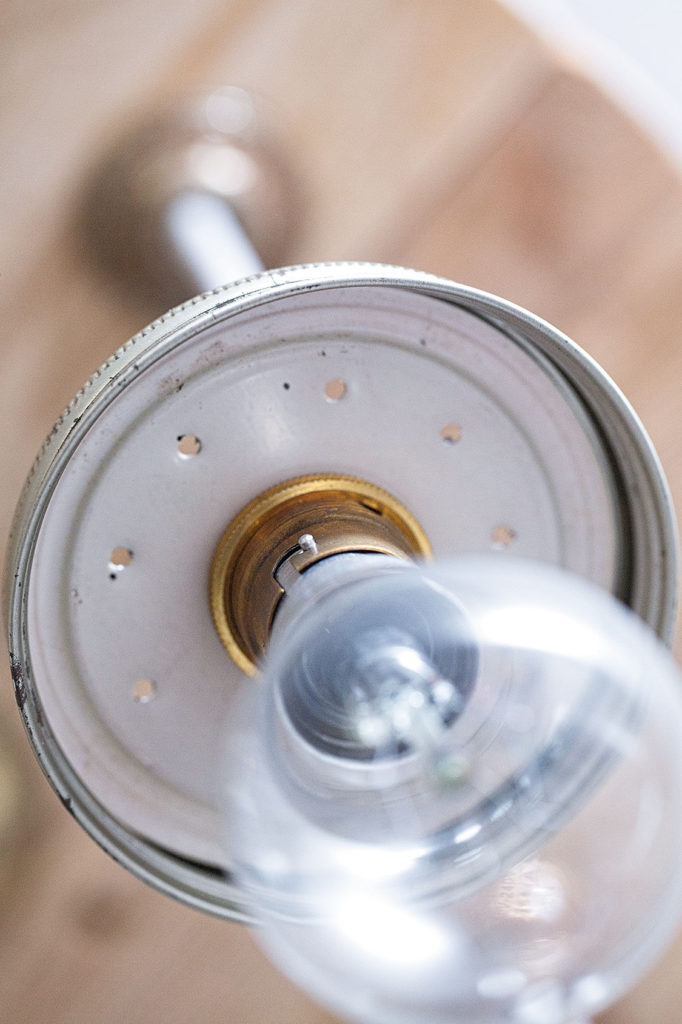
- Using a 25mm wood drill bit, make a hole in the centre of each lid big enough for the electrical light fitting to fit securely. Use a smaller drill bit to make small holes around the centre hole. These small holes allow hot air to escape when the lights are switched on.
- Attach the light fittings to each lid, taking care to tighten them properly.
- Cut the electrical cord into five equal pieces and attach them to the light fittings.
- With the jigsaw, cut a circle with a diameter of about 40cm from any type of wood. Position the jars in the way you want them to hang from the wood and mark the places with a pencil.
- Drill through the wood on each mark, using an 8mm drill bit. Pull an electrical cable through each hole, adjust it to the desired height and strip the ends. Keep each cord in place with a bent nail or two.
- Connect the wires to each other so that all the blue wires form one connection and the brown wires form another.
- Attach these wires to the electrical connection in your roof*. Secure the light fitting to your ceiling with the screws.