Every gardener knows the quiet anxiety of not knowing whether a seed has germinated. You sow into a tray, water carefully and wait. Days pass. Sometimes the seedlings appear on schedule. Sometimes they do not, and by the time you accept that something has gone wrong, you have lost growing time that cannot be recovered.
Pre-sprouting is the practice that removes this uncertainty entirely. By encouraging seeds to germinate before they go into soil, you can see exactly what is happening, intervene if something goes wrong and transfer only viable seedlings into your growing space. It is a small shift in approach with a meaningful return.
The core idea
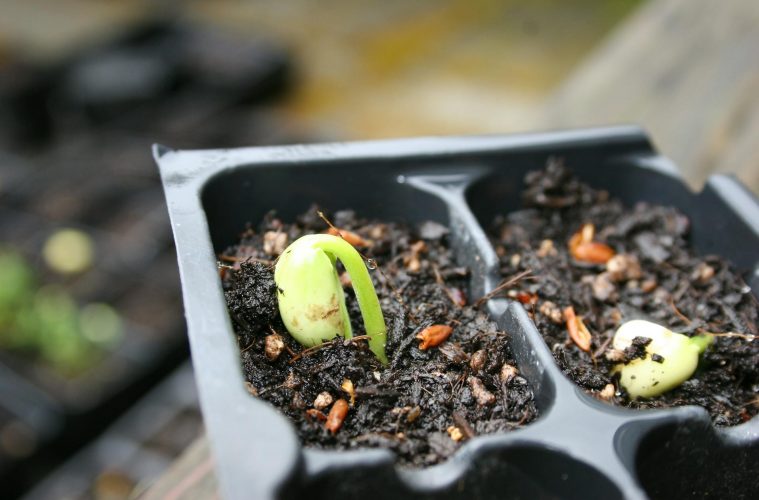
Pre-sprouting involves providing the conditions for germination outside of the soil. Seeds are placed on a damp paper towel or coffee filter, sealed in a labelled bag and kept in a warm, dark place. The moisture breaks down the seed coat and triggers the germination process. Once the seed produces its first seed leaves, it is transferred carefully into soil or directly into the garden.
The result is that you see germination happening, you can confirm viability before using up tray space, and you can transfer a sprouted seedling rather than an inert seed, which shortens the time between sowing and visible growth.
Why it matters for old seeds
Most seeds remain viable for two to five years when stored correctly, but germination rates decline over time. A packet of heirloom tomato seeds from three seasons ago may still contain viable seed, but sowing it directly into a tray without testing risks wasting the space on seeds that will not germinate. Pre-sprouting reveals the germination rate before anything goes into soil. If eight out of ten seeds sprout on the paper towel, the packet is still worth using. If one sprouts from ten, it is better to source fresh seed and use that space for something reliable.
The space and disease advantages
A damp paper towel in a sealed bag takes up almost no space compared to a tray of cells, which makes pre-sprouting particularly useful for gardeners working in limited conditions. Seeds can be germinated in quantity on a kitchen bench or a shelf, and only the ones that successfully sprout are transferred to growing containers. This means growing space is reserved for seedlings that are already viable rather than occupied by seeds that may or may not perform.
Pre-sprouted seedlings are also less susceptible to damping off, the fungal condition that causes seedlings to collapse at soil level. Because the seed coat has already been broken and the germination process is underway before the seedling enters soil, the vulnerable early stage is completed in a controlled, clean environment rather than in potentially contaminated potting mix.
Which seeds respond best
Small seeds with long germination periods benefit most from this technique. Tomatoes, peppers, carrots, radishes, onions and parsley are all strong candidates. Larger seeds that benefit from pre-soaking, such as sweet peas and cucumbers, also respond well. Lettuce is particularly worth pre-sprouting for anyone who has experienced pest damage to seeds sown directly outdoors: germinating them in a controlled environment and transferring seedlings into containers removes the most vulnerable stage of their development from open-ground conditions entirely.
Fine flower seeds with long germination windows also respond well to pre-sprouting. Lavender, basil, milkweed, thyme and anise hyssop are all suitable candidates. Seeds that have been cold stratified, such as some wildflower varieties, can move directly to the pre-sprouting stage once the stratification period is complete.
Seeds to leave alone
Not every seed benefits from this approach. Corn and beans should always be direct-sown: exposure to moisture before planting makes them vulnerable to soil pathogens, and because both crops require multiple healthy plants for a productive harvest, the risk of losses at this stage is significant. Very fine, dust-like seeds such as those of yarrow, oregano and most orchids have a papery quality that does not respond well to the continuously moist conditions of pre-sprouting. Plants that are prone to transplant shock, including most root vegetables that dislike being disturbed, should also be direct-sown rather than moved after germination.
The method, step by step
The process requires almost no equipment. You will need the seeds, resealable plastic bags, paper towels or coffee filters, a pen for labelling, and a heat mat if you are working with crops like peppers or tomatoes that require warmth to germinate.
Label each bag with the seed variety and the date. Dampen the paper towel or coffee filter until moist but not dripping. Place the seeds on one half of the damp material, fold the other half over to cover them, and slide the whole thing into the labelled bag. Press out the air and seal. Store in a warm place away from direct light. Seeds that need heat should go onto a heat mat at this stage.
Check the bags daily. As seeds sprout and develop their first leaves, remove them and transfer to soil immediately. Leave unsprouted seeds in the bag and continue monitoring. Add moisture as needed to keep the material damp but not saturated. Any seeds or towels that show mould should be removed and discarded promptly.
When transferring sprouted seeds, handle them with care. Use a toothpick to create a small hole in the soil and lower the seedling in, pressing the surrounding soil lightly to hold it in place. If a seedling has germinated through the towel itself, cut around it and plant the whole piece. The paper will break down naturally as the plant grows. Move transferred seedlings into light immediately after planting, whether under a grow light or in a position that receives direct sun.
ALSO SEE:
What is soil blocking? A beginner’s guide to this seed-starting method
Featured Image: Pexels