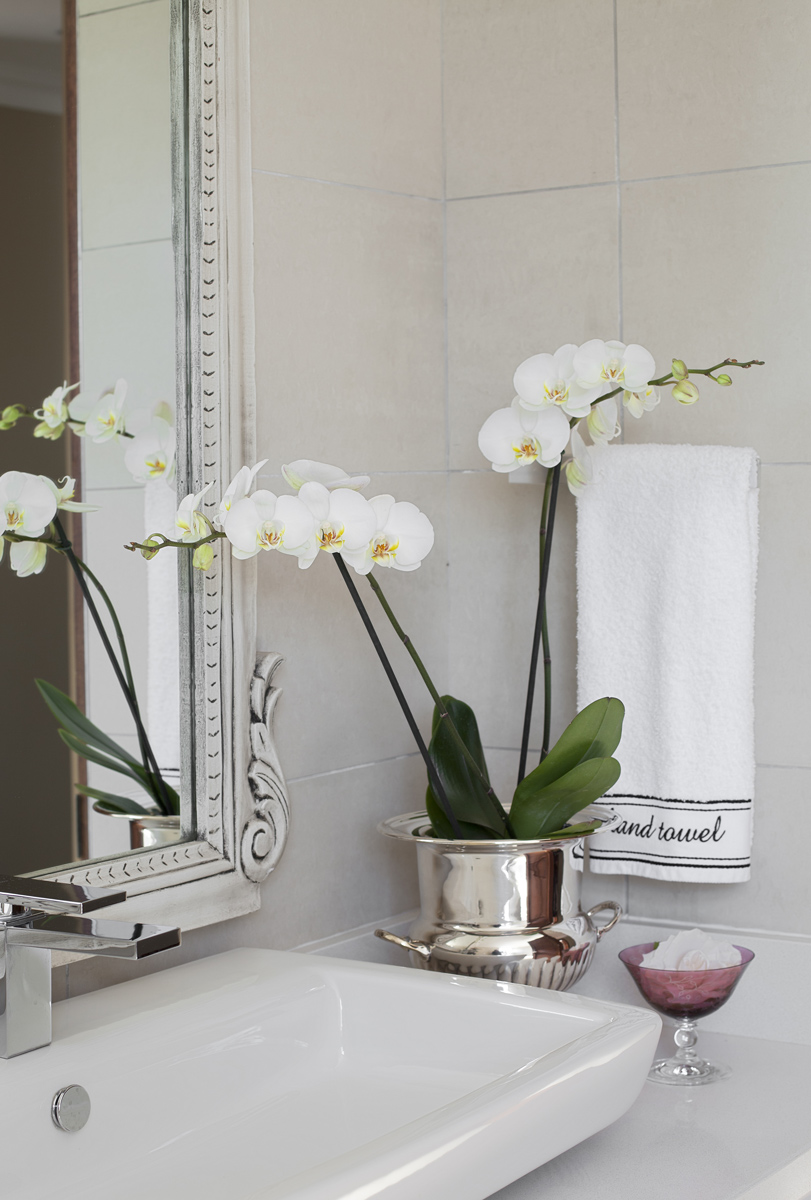
Orchids are some of the most popular pot plants and to keep yours flourishing repotting is essential. The best time to do this is in spring once they’ve finished flowering explains expert Tinus Oberholzer of Plantae Orchids.
Repotting orchids gives them a new lease on life and this method can be used for most orchid groups, although the potting mix may vary slightly.
*Spread out newspaper on which to work and use a new sheet for each plant and wrap up any soil and offcuts afterwards. To prevent the spread of disease, dispose of them in the municipal waste and not the compost heap.
Step 1

Cut off the old inflorescences (flower spikes) at their base. The orchid will have been flowering for months, which takes up a lot of the plant’s energy; cutting off the inflorescences allows the plant to build up reserves for the next season.
Step 2

Soak the pot in water for 10-15 minutes, submerging the pot up to its rim so that all the roots are under water. This will make them more pliable and less likely to be damaged when removing the plant from the pot.
Step 3

Remove the orchid from its pot. Hold the plant at the base where the roots begin and pull gently. You may need to squeeze the side of the pot (if it’s plastic) to loosen the roots and the potting medium.
Step 4

Remove most of the old potting medium from the roots by teasing it out with your fingers and/or by dipping it in water.
Step 5

Sterilise a pair of secateurs or scissors in a solution of five percent bleach and water. Use the secateurs to cut off any dead roots. Healthy roots will be white or slightly green from being soaked in the water; dead roots will be brown or yellow and papery. Also remove any dead leaves if necessary – dab Flowers of Sulphur or powdered cinnamon onto the wounds to seal them.
Step 6

Select a new pot (the same size for phalaenopsis; one or two sizes bigger for cymbidiums or cattleyas). You can choose any type of pot; just ensure it has sufficient drainage holes. Put a bit of potting mix or a few pottery shards in the bottom to prevent the pot from becoming top heavy once the orchid is planted.
Step 7

Position the orchid in the pot so the part where the leaves stop and the roots start is slightly below the rim of the pot.
Step 8

Gradually add fresh potting mix. Use your fingers to firm down the mix around the roots so you can feel whether you are squashing the roots. Wearing surgical gloves helps to prevent the spread of plant diseases.
Step 9

After firming down the potting mix, there should be a space between the mix and the top of the pot. If the plant is healthy and has lots of roots, it should stand firm in the pot; if it’s sickly, add a stake so it doesn’t move when watering, which could harm the tips of new roots. Label the plant with its name and the date that you repotted it. Water it well and wait two weeks before watering it again to encourage new roots to form.
Orchid watering guide
Give indoor orchids in a bark-based mix a thorough watering:
Spring: Twice a week.
Summer: Every second day.
Autumn: Start reducing watering to twice a week, then once a week as it gets colder.
Winter: Once a week. If the temperature drops below 8°C rather leave the plant dry.

