In the past, the local garlic farming industry has struggled to grow (excuse the pun) due to imports from countries like China being cheap coming in at a cost under the production costs for local farmers. For this reason, the garlic industry in our country has been unstable and not many farmers have been willing to invest in the crop. After all, it takes 8-9 months to produce a crop of garlic from planting.
Another reason for the lack of local production is the extra-long shelf life of imported garlic due to irradiation. By using this process, micro-organisms and insects are eliminated, making it safe to export and also making the shelf-life that much longer.
In fact, some retailers can order a 12-month supply of garlic at once. The local market relies on the season between September to May to sell its garlic, but it is during this time that some retailers will increase their supplies of locally grown garlic.
So, all this background has a reason. Irradiated garlic is very unlikely to sprout and you are therefore unlikely to grow garlic from a bulb purchased at your local store. However, local garlic is different and also of a type that grows better locally – much more likely to grow in your garden if planted.
If they have already sprout in your kitchen, you are good to go, but it’s important to plant at the correct time of the year. For the shorter cooler days, garlic prefers from February – May. If you can’t find any un-irradiated garlic in store, you can order online from seed suppliers or from your local nursery. Look out for pre-orders, as they are snapped up quickly, and they are usually shipped by mid-February for planting immediately.
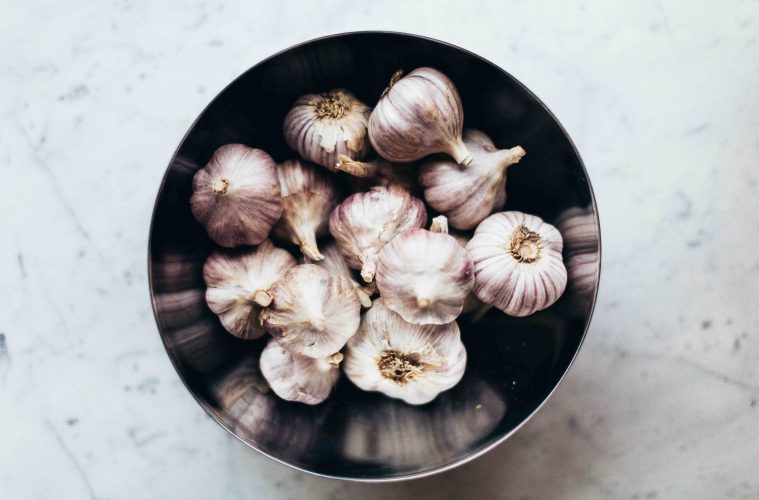
Growing garlic
In South Africa we have 3 types that have been grown successfully commercially for many years and these include Egyptian white, Egyptian Pink and Giant. There are others you can try, but these staples are good for beginners.
Here are some tips for growing:
- Make sure the cloves are fresh and firm before planting.
- Prepare the soil so that its loose and loamy. Add plenty of organic matter in the form of compost to a depth of 15 – 20cm. Heavy soils will restrict the growth of the bulbs.
- Plant each clove at a depth of 3 – 5cm and 8 – 12cm apart. The pointy side should be planted upwards.
- Water 2-3 times a week while they are growing. Never allow the plants to dry out or they will bolt and start to flower instead of using their energy to form bulbs. This will also happen if it’s too hot.
- Feed regularly with an all-purpose organic fertiliser or a liquid fertiliser.
- Add a layer of mulch to keep the soil temperatures cool and the moisture content high.
- Look out for pests and diseases like thrips, cutworm, and white rot and deal with them immediately.
- For small gardens, they do well in containers.
Harvesting and storage
When the leaves start to die down and become dry and papery, the bulbs can be dug up. Leave them where they are for up to 3 days to dry out and then move to a dry, shady well-ventilated place to dry out further and store.
After drying with their stems on for around 2 weeks, they can be grouped and plaited together to hang up for storage. They can be stored for months like this and enjoyed in the kitchen whenever a dish calls for a bit of flavour and warmth.
Photo by Daria Shevtsov/pexels
ALSO SEE: GROWING ONIONS ALL YEAR ROUND