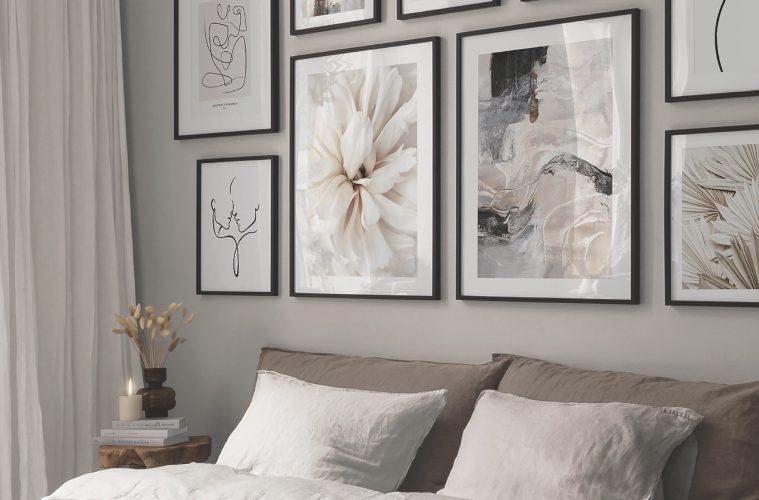
How to arrange a gallery wall
1. Choose your artwork
Start by choosing your artwork. Try balancing different styles – maybe a mix of favourite quotations, photography or botanical prints. Then aim for two key colours, selecting shades that will harmonise with your room’s decor.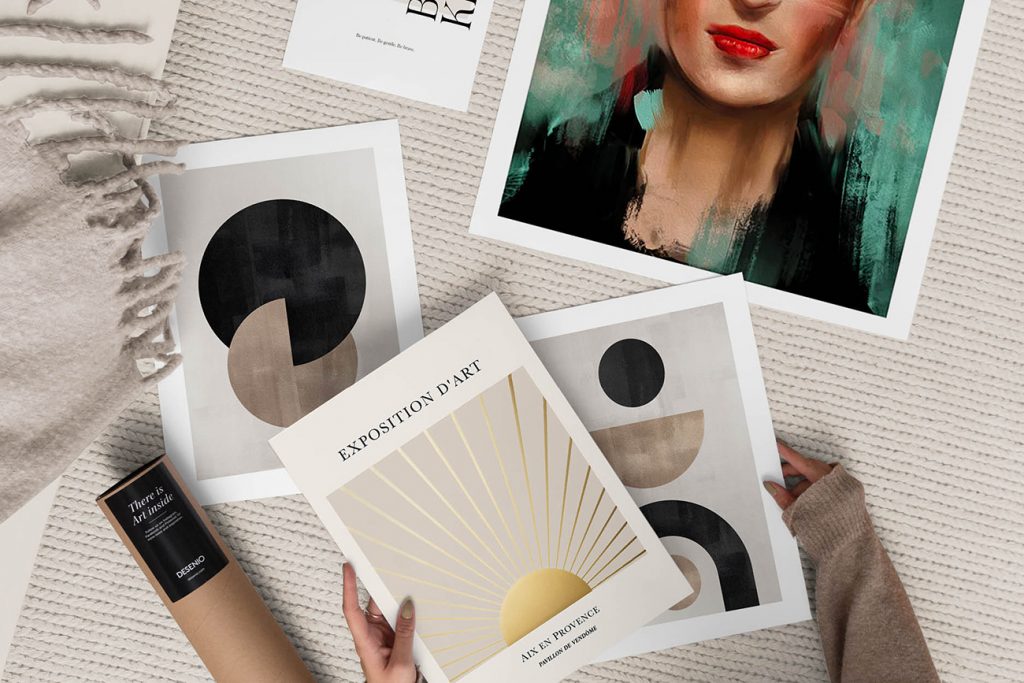
2. Decide on the frames
Next, decide on the frames. The type of frame you use can make a huge difference to the look. A light frame will make artwork pop, while black frames create contrast. Keep frames the same for a unified look or mix and match for an eclectic feel.
3. Experiment with placement
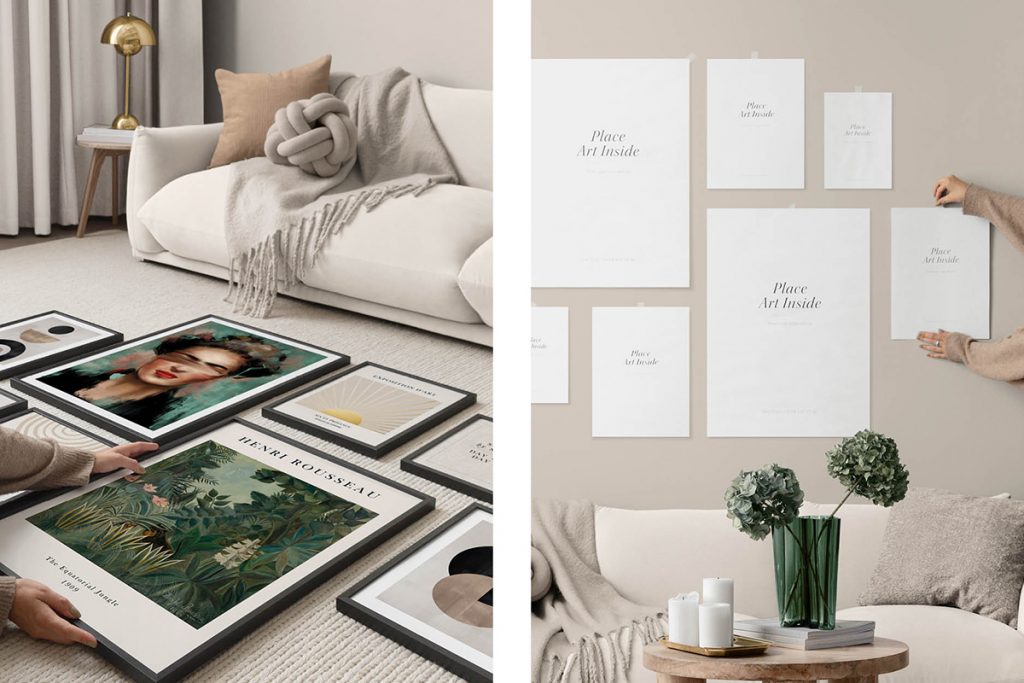
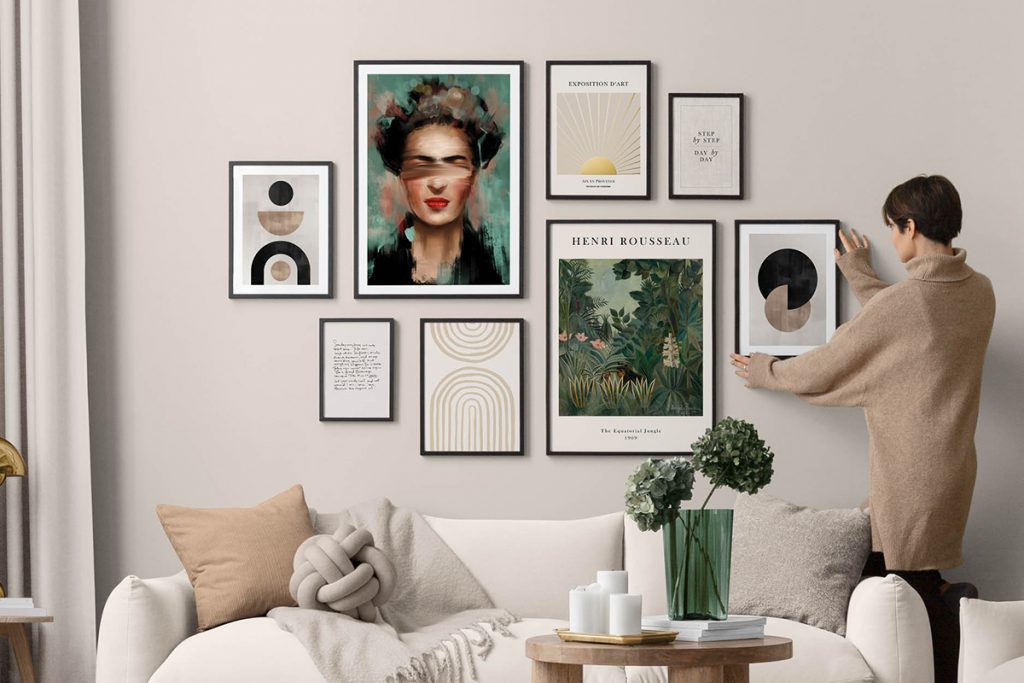
Once framed, decide on a layout. With your framed art on the floor, experiment with the placing. Focus on balancing colours and art styles, so the prints feel evenly mixed. If you have one that will be the centrepiece of the gallery wall, start with 4this and add prints around it.
4. Plan your gallery wall layout
5. Start hanging
ALSO SEE: DIY: MOVABLE LAUNDRY BASKET