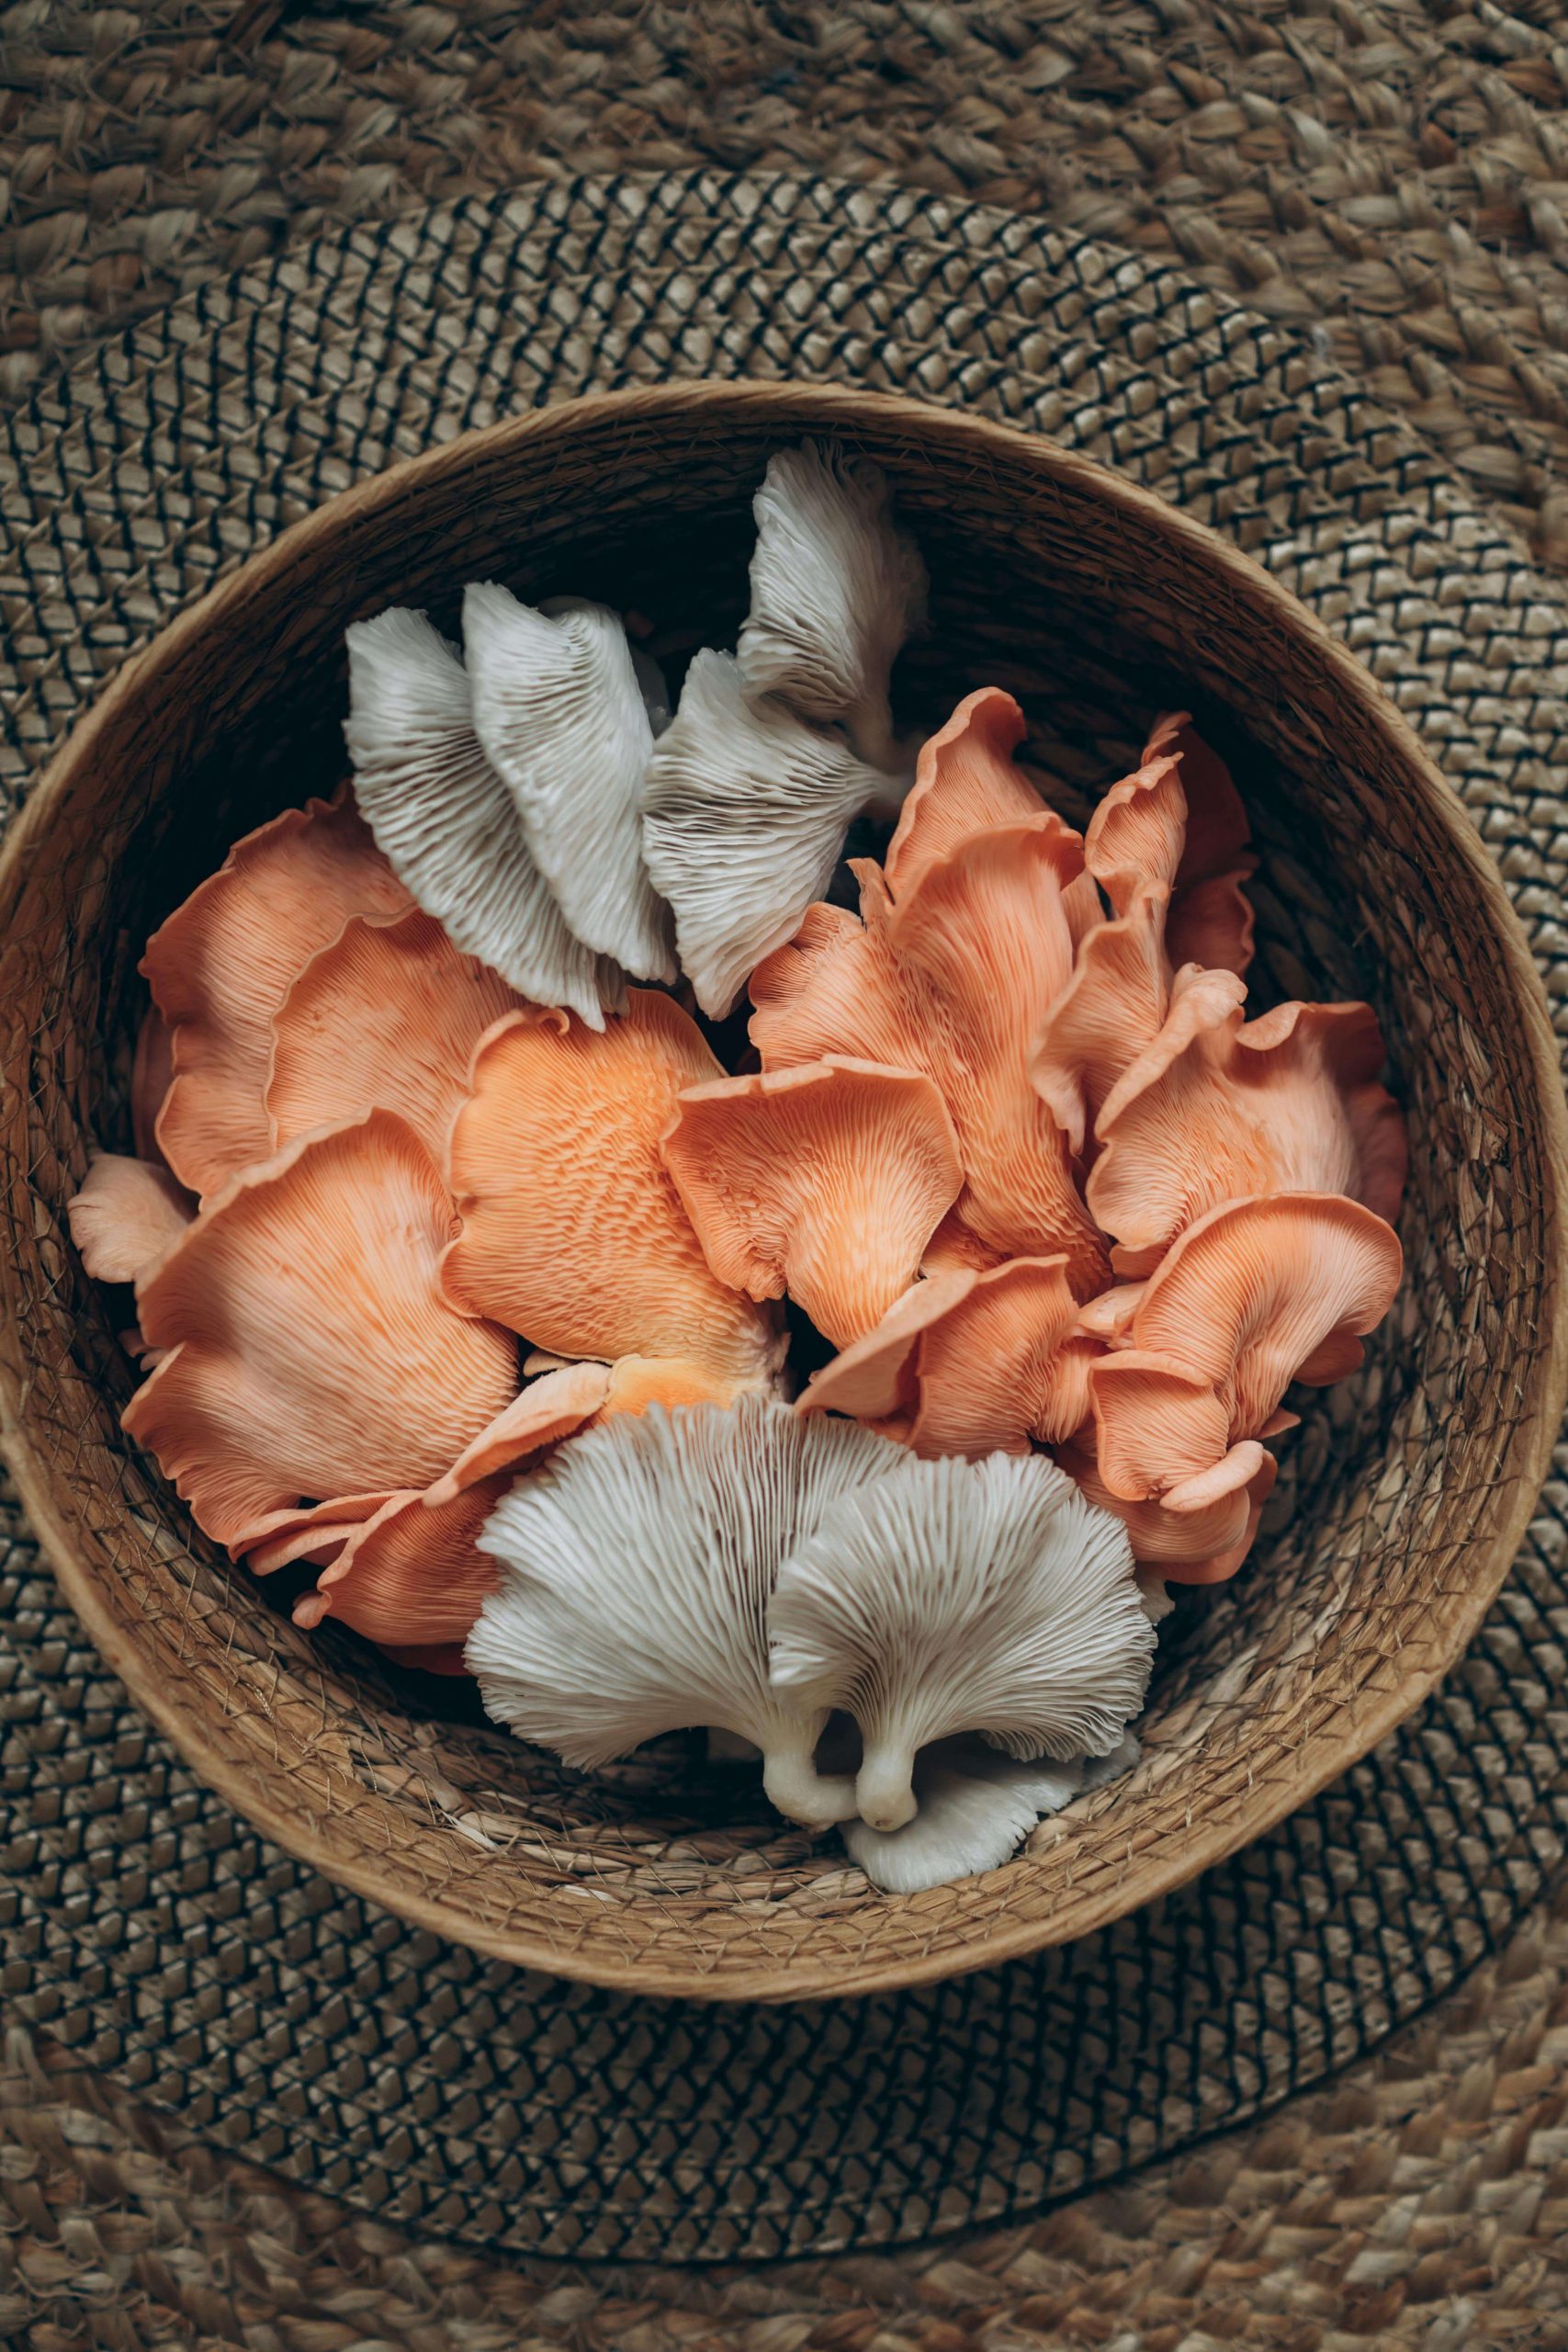
Oyster mushrooms are a favourite in many kitchens – especially in Asian-inspired dishes – thanks to their delicate texture and mild, earthy flavour. But they’re not always easy to find fresh at the shops.
The good news? You can grow your own right at home – whether in your garage, on a shaded patio, or tucked away in a quiet corner of your backyard.
Read more: Could mushrooms growing on your trees be a bad sign?
Why grow your own mushrooms?
Besides being a great way to enjoy fresh, organic produce, growing mushrooms is surprisingly rewarding (and budget-friendly too). Oyster mushrooms don’t need much space or sunlight – just the right growing medium and a bit of patience.
Before you start
To grow mushrooms, you’ll need a sterilised growing medium, known as a substrate. Straw is one of the easiest and most effective materials to use.
Here’s how to prepare it:
- Place straw in an old metal drum with a small outlet or hole at the bottom.
- Set the drum on a few bricks and fill it with water to cover the straw completely.
- Light a small fire under the drum and heat the water to around 80–85°C. Keep it hot for at least 4 hours — this sterilises the straw.
- Drain the water and allow the straw to cool down completely before moving on to the next step.
Growing your mushrooms
Once the straw is cool, mix it with mushroom spawn – the living culture that helps your mushrooms grow. Use about 500g of spawn for every 25kg of straw.
- Pack the straw-and-spawn mixture into tall, clean plastic bags.
- Tie the top of each bag securely and hang it from a beam or hook in a cool, dark spot, like your garage or a shaded patio.
- Cut a small drainage hole at the bottom of each bag.
- After about three weeks, you’ll notice a white web-like growth spreading through the bag – this is the mycelium, and it means your mushrooms are on their way!
- Cut four to six holes around each bag to allow the mushrooms to grow out.
Harvesting your mushrooms
Your oyster mushrooms will be ready to harvest once the caps are about 5–7cm wide. Simply snip them off at the stem using a sharp pair of scissors.
Be sure to store your harvest in a paper bag in the fridge to keep them fresh for longer. And once you’ve had your first successful batch, you can reuse the same setup to start again – it’s an easy cycle to keep going.
Whether sautéed in butter, stirred into soups, or added to a creamy risotto, oyster mushrooms bring a touch of gourmet goodness to everyday meals. Growing them yourself not only guarantees freshness but also adds a sense of pride – knowing that your next delicious dish started right at home.
ALSO SEE: MUSHROOMS IN THE GARDEN