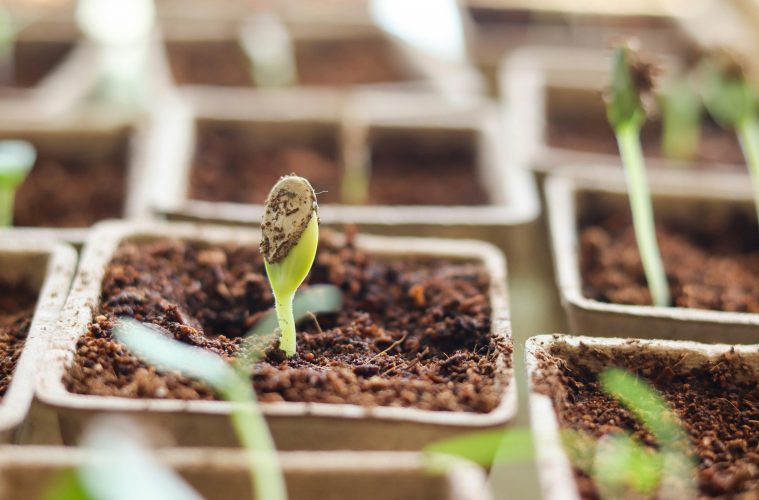
Some seeds need a little encouragement to get growing. Even under the right conditions, germination can be delayed if a seed’s outer coating is too hard or impermeable. That’s where scarification comes in — a simple but effective way to speed up germination and help tough seeds along.
Scarification mimics the natural wear-and-tear seeds might experience in the wild. Think of it as a gentle nudge to break dormancy and kickstart growth. If you’ve ever struggled to get beans, sweet peas or nasturtiums to sprout evenly, scarifying could be the missing step in your gardening routine.
ALSO SEE: How to speed up seed germination: simple tips that actually work
What is scarification?
At its core, scarification means weakening the outer coating of a seed. This helps water and oxygen penetrate the shell, increasing the chances of faster and more consistent germination. Some seeds already get this treatment from nature — by passing through an animal’s digestive system, being exposed to fire, or weathering extreme temperature changes.
In a home garden setting, there are several ways to manually scarify seeds. The method you choose depends on the seed type, size and shell thickness.
1. Soak seeds in water
This is the easiest place to start. Soaking seeds in lukewarm water for 6 to 24 hours helps soften the outer coat, making it easier for roots to push through. Place the seeds in a bowl, cover them with water, and leave them on the kitchen counter away from direct sunlight. You’ll notice some seeds float — these may still be viable, so don’t discard them straight away.
Soaking works well for pumpkin, sunflower and bean seeds. Just avoid it for mucilaginous seeds like basil or rocket, which develop a gel-like coating when wet.
2. Use sandpaper or a nail file
Mechanical abrasion is a tried-and-true method for hard-coated seeds. Rub the seed gently against fine sandpaper or a nail file until the outer layer shows a small scratch or change in texture. Aim for the end opposite the seed’s ‘eye’, where the root will emerge.
This method works particularly well for sweet peas, nasturtiums and certain legumes. Be gentle — the goal is to nick the shell, not crush the seed.
3. Snip or nick large seeds
For bigger seeds with thick shells, like castor bean or morning glory, a small cut with nail clippers or a sharp knife can do the trick. Clip a tiny portion from the seed’s edge to create a weak point. Once planted, water will reach the inner seed more quickly and encourage germination.
Always use clean, sharp tools and avoid cutting too deep.
4. Try heat or boiling water
Another method involves exposing seeds to a quick blast of heat. Some gardeners pour boiling water over seeds, leave them to soak as the water cools, then plant them straight after. This is effective for hard-coated seeds like acacia, wattle and coral tree.
Be careful not to overdo it — too much heat can kill the seed entirely. If in doubt, experiment with a small batch first.
5. Mimic natural freeze-thaw cycles
Placing seeds in the freezer for a few days, then bringing them out to thaw, can help mimic natural scarification processes. It’s particularly useful for cold-climate species that require a winter chill to break dormancy.
In some cases, alternating freeze-thaw cycles can create tiny fractures in the seed coat, improving water absorption.
Do all seeds need scarifying?
No, many garden favourites will germinate just fine without any extra help. Lettuce, tomatoes, carrots and leafy greens usually don’t need scarification. But tougher seeds with waxy or woody shells often benefit from a bit of encouragement.
Scarification can improve germination rates, shorten the time to sprouting, and help seedlings emerge more uniformly. That means stronger plants from the get-go, especially if you’re sowing a large batch.
Scarifying seeds isn’t complicated, and once you get the hang of it, it becomes a rewarding part of the seed-starting season. With a few basic tools and a little patience, you can unlock stronger germination and healthier seedlings — giving your garden the best possible start.
Before you begin, read up on each seed’s specific needs. Try different methods in small batches to see what works best, and keep notes for next season. Some seeds just need water. Others need a file. And some, just like us, respond best to a bit of warmth and care.
Your garden will thank you for the extra effort.
ALSO SEE:
Transform your garden with wisteria plants to enhance it with vibrant climbing blooms
Featured Image: Pexels

