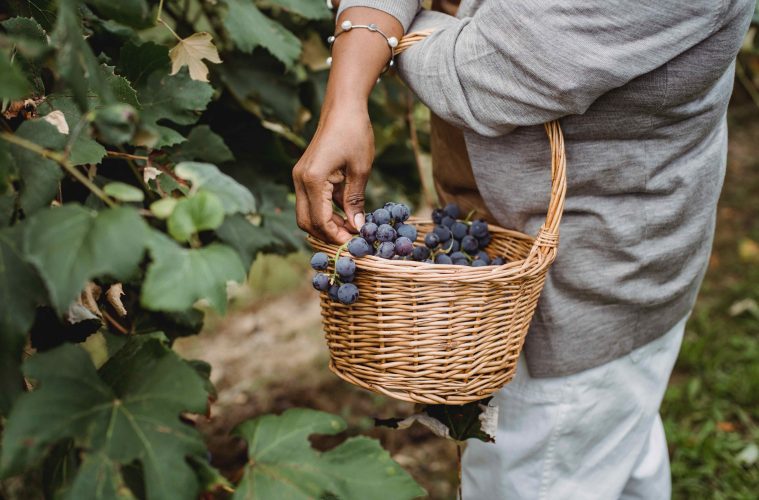
Rich in vitamins and antioxidants, not only are grapes good for you, but the hardy creepers pretty up a dull space too!
The grape has something of a reputation for being the fruit of indulgence and decadence – much like the Romans who are said to have spread it through Europe from Asia. From there, it made the long trip to South Africa via various routes. No matter how it reached our shores, every home gardener should have a grapevine.
Linked symbolically with love and fertility, these antioxidant-rich clusters of fruit prefer a Mediterranean climate, which is why they grow so well in the Cape, but will do perfectly fine in the rest of the country. There are a bunch to choose from – seeded or seedless, red or white – with the most popular being hanepoot, sultana, red globe and barlinka. Visit your local nursery for a cultivar best suited to your climate and needs.
Know before you grow grapes
You’ll need a structure to support the vine, so decide on an aesthetic beforehand – trellis, pergola, frame or wall posts. Choose an area in your garden that is in full sun, with deep, well-drained soil so the roots will be able to spread out. Space about a metre apart if you’re planting more than one vine. If you’re planning on training your vines up a wall, you’ll have to attach horizontal wires along it to keep them apart and ensure good circulation, which will help prevent disease.
Ground breaking
The plant will be dormant when you transplant it. Dig a hole twice the size of the pot or packet in which the vine was bought, then mix the upturned soil with compost and bone meal. Remove the plant from the pot and loosen the roots around the bottom and sides. Transplant the vine, fill the hole with the upturned soil and tamp it down. Water generously and mulch. Water every day thereafter until the plant is well established.
Vine theory
The vine’s tendrils will naturally cling to the frame you’ve built, so training it won’t be hard. Water only when the plant needs it, usually indicated when the soil becomes dry. Prune between autumn and winter by removing dead leaves and stems and cutting back new growth to about three buds per branch. Once the plant starts to fruit, keep the crop down to no more than three bunches per branch and, for better-tasting grapes, pick off the smaller clusters to redirect energy to the stronger bunches. Pinch back any foliage that covers fruit to make sure it receives sunlight. Get rid of as many weeds as possible, as they like to steal nutrients that the vines need.
Harvest time
Grapes will appear and start to ripen during summer the year after you plant the vine. Now is the time to do a taste test. Grapes won’t continue to ripen after they’ve been harvested, so the best way to tell when they are ready is to pick a few and taste. The fruit can be left on the vine for several weeks, but birds and bees are a real pest, so it’s best to get your bounty while you can. (You can deter the birds with shiny objects.) To harvest, cut the bunches off the vines with harvesting shears or a sharp knife. Rinse and pop in your mouth, one delicious globe at a time.
Raisin hope
Making raisins is a lot easier than you’d think, and is fun to do with kids. Simply get them to pick firm, fresh fruit from the vine, rinse and lay them out on a rack. Help kids cut off thick stems, but don’t trim all the way. Leave in the sun to dry, covered with nets to protect from flies, birds and bees. Three to six days later, you’ll have raisins. It’s almost impossible to overdry, them so don’t worry if you leave them out a bit longer
Part of the furniture
Turn your vines into outdoor decor by training them to grow over a gazebo or pergola. Build a rectangular frame with wooden poles, big enough for a small table and a few chairs to fit under. Plant grape vines around it, one metre apart, then train them up the structure. It will take a few years, but you will eventually have a beautiful, romantic, shaded canopy for summer breakfasts, with bunches of grapes drooping down.
[Image via Pexels]

