
 Jade Mcgee
There is a particular satisfaction in planting something you have grown before, especially when the new season begins with seeds gathered from your own garden. A handful of dried bean pods or the seeds from a favourite tomato can turn last summer’s harvest into next year’s beginning.
Seed saving is inexpensive, surprisingly absorbing and a good way to learn how plants complete their life cycle. You do not need a dedicated vegetable patch, either. A few healthy plants in pots or raised beds are enough to start building a small collection.
Begin with open-pollinated plants
The easiest seeds to save come from open-pollinated varieties. When correctly grown and kept separate from compatible varieties that could cross-pollinate, these are more likely to produce plants resembling their parents. Seeds from F1 hybrids are less predictable: their offspring may look or taste quite different.
Beans, peas, lettuce, basil and many open-pollinated tomatoes are rewarding beginner choices. Choose varieties you genuinely enjoy growing and eating, rather than saving every seed in sight. A small, labelled collection that you will use is more valuable than a drawer full of mystery envelopes.
Set aside healthy plants for seed
Seed production takes time and energy, so allow some of your strongest plants to mature instead of harvesting everything for the kitchen. Pick plants that have performed well in your conditions and show no obvious signs of disease.
Be aware that certain vegetables cross-pollinate readily. Pumpkins and some other members of the same squash species, for instance, can cross with compatible varieties growing nearby. If preserving a particular variety matters, research its pollination needs or start with crops that usually self-pollinate, such as beans and tomatoes. Even these are not completely immune to crossing.
Know when seeds are ready
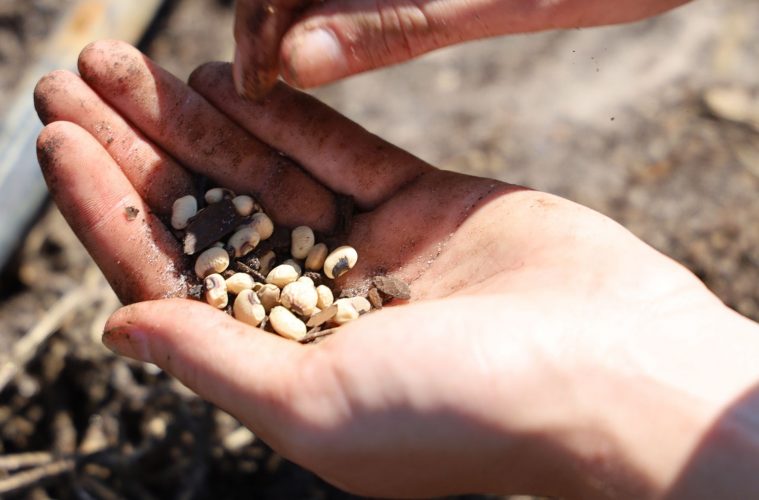
Dry-seeded crops give clear clues. Leave bean and pea pods on the plant until they turn papery and the seeds inside feel hard. Let lettuce send up a flowering stem, then collect its mature, fluffy seed heads before they scatter. Basil flower spikes can be cut when the seed heads have browned and begun to dry.
Tomatoes are different because the seeds sit inside fleshy fruit. Choose a fully ripe, healthy tomato, scoop out the seeds and rinse away the pulp. A short fermentation can help remove the slippery coating, but avoid leaving seeds in water for too long. Whatever method you choose, spread the cleaned seeds out to dry thoroughly before storing them.
Dry, label and store seeds carefully
Moisture is the enemy of stored seed. Spread seeds in a single layer on a plate, mesh screen or uncoated paper in a shaded, well-ventilated area. Avoid direct midday sun, which can overheat them. Larger seeds will usually take longer to dry than fine ones.
Once fully dry, pack them into paper envelopes marked with the plant name, variety and date collected. Keep those envelopes inside an airtight container in a cool, dark, dry place. In humid coastal conditions, an appropriate desiccant sachet can help, provided the seeds are already dry. Never seal damp seeds in plastic.
Plan for your next sowing season
Not all seeds remain viable for the same length of time. If a packet has been stored for a while, test a few seeds on damp kitchen paper to see whether they germinate before dedicating valuable bed space to them. Remember that summer crops and cool-season vegetables have different sowing windows, and local frost dates matter.
Saving seed is as much about observation as storage. Keep notes on the plants that coped with your soil, weather and watering routine, and gradually build a collection suited to your own garden. That is where this simple habit becomes genuinely rewarding.
ALSO SEE:
Featured Image: Pexels
