You can mop, sweep and light a fancy candle, but if your grout is looking tired, the whole room can still feel a little… grim. Those thin lines between your tiles collect everything from dust to soap scum, and over time they dull the look of an otherwise spotless space.
The good news? You don’t need a full renovation or an expensive professional clean. With one free afternoon and a few household basics, you can give your grout a surprisingly satisfying refresh.
Why grout gets grubby so quickly
Grout is porous, which means it absorbs moisture, dirt and spills more easily than tile. In bathrooms, steam and soap residue settle in. In kitchens, grease and crumbs do their worst. On floors, everyday foot traffic slowly builds up.
It’s not dramatic. It’s gradual. Then one day you notice it all at once.
How often should you clean grout?
A quick wipe during your regular clean helps, but grout benefits from a deeper refresh every few weeks, especially in bathrooms and busy kitchens.
If you have a guest bathroom that’s used once in a blue moon, you can relax. If it’s the family shower used daily, grout maintenance deserves a regular spot on the to-do list.
What you’ll need
- Baking soda
- Hydrogen peroxide
- Dishwashing liquid (optional for greasy areas)
- Small bowl
- Gloves
- Old toothbrush or grout brush
- Sponge or microfibre cloth
- Warm water
The DIY grout paste that actually works
Mix:
- 2 parts baking soda
- 1 part hydrogen peroxide
Stir into a thick paste. If you’re tackling kitchen tiles or splashbacks, add a drop or two of dishwashing liquid for extra grease-cutting power. Think of it as skincare for your tiles. Exfoliating, but practical.
Pexels
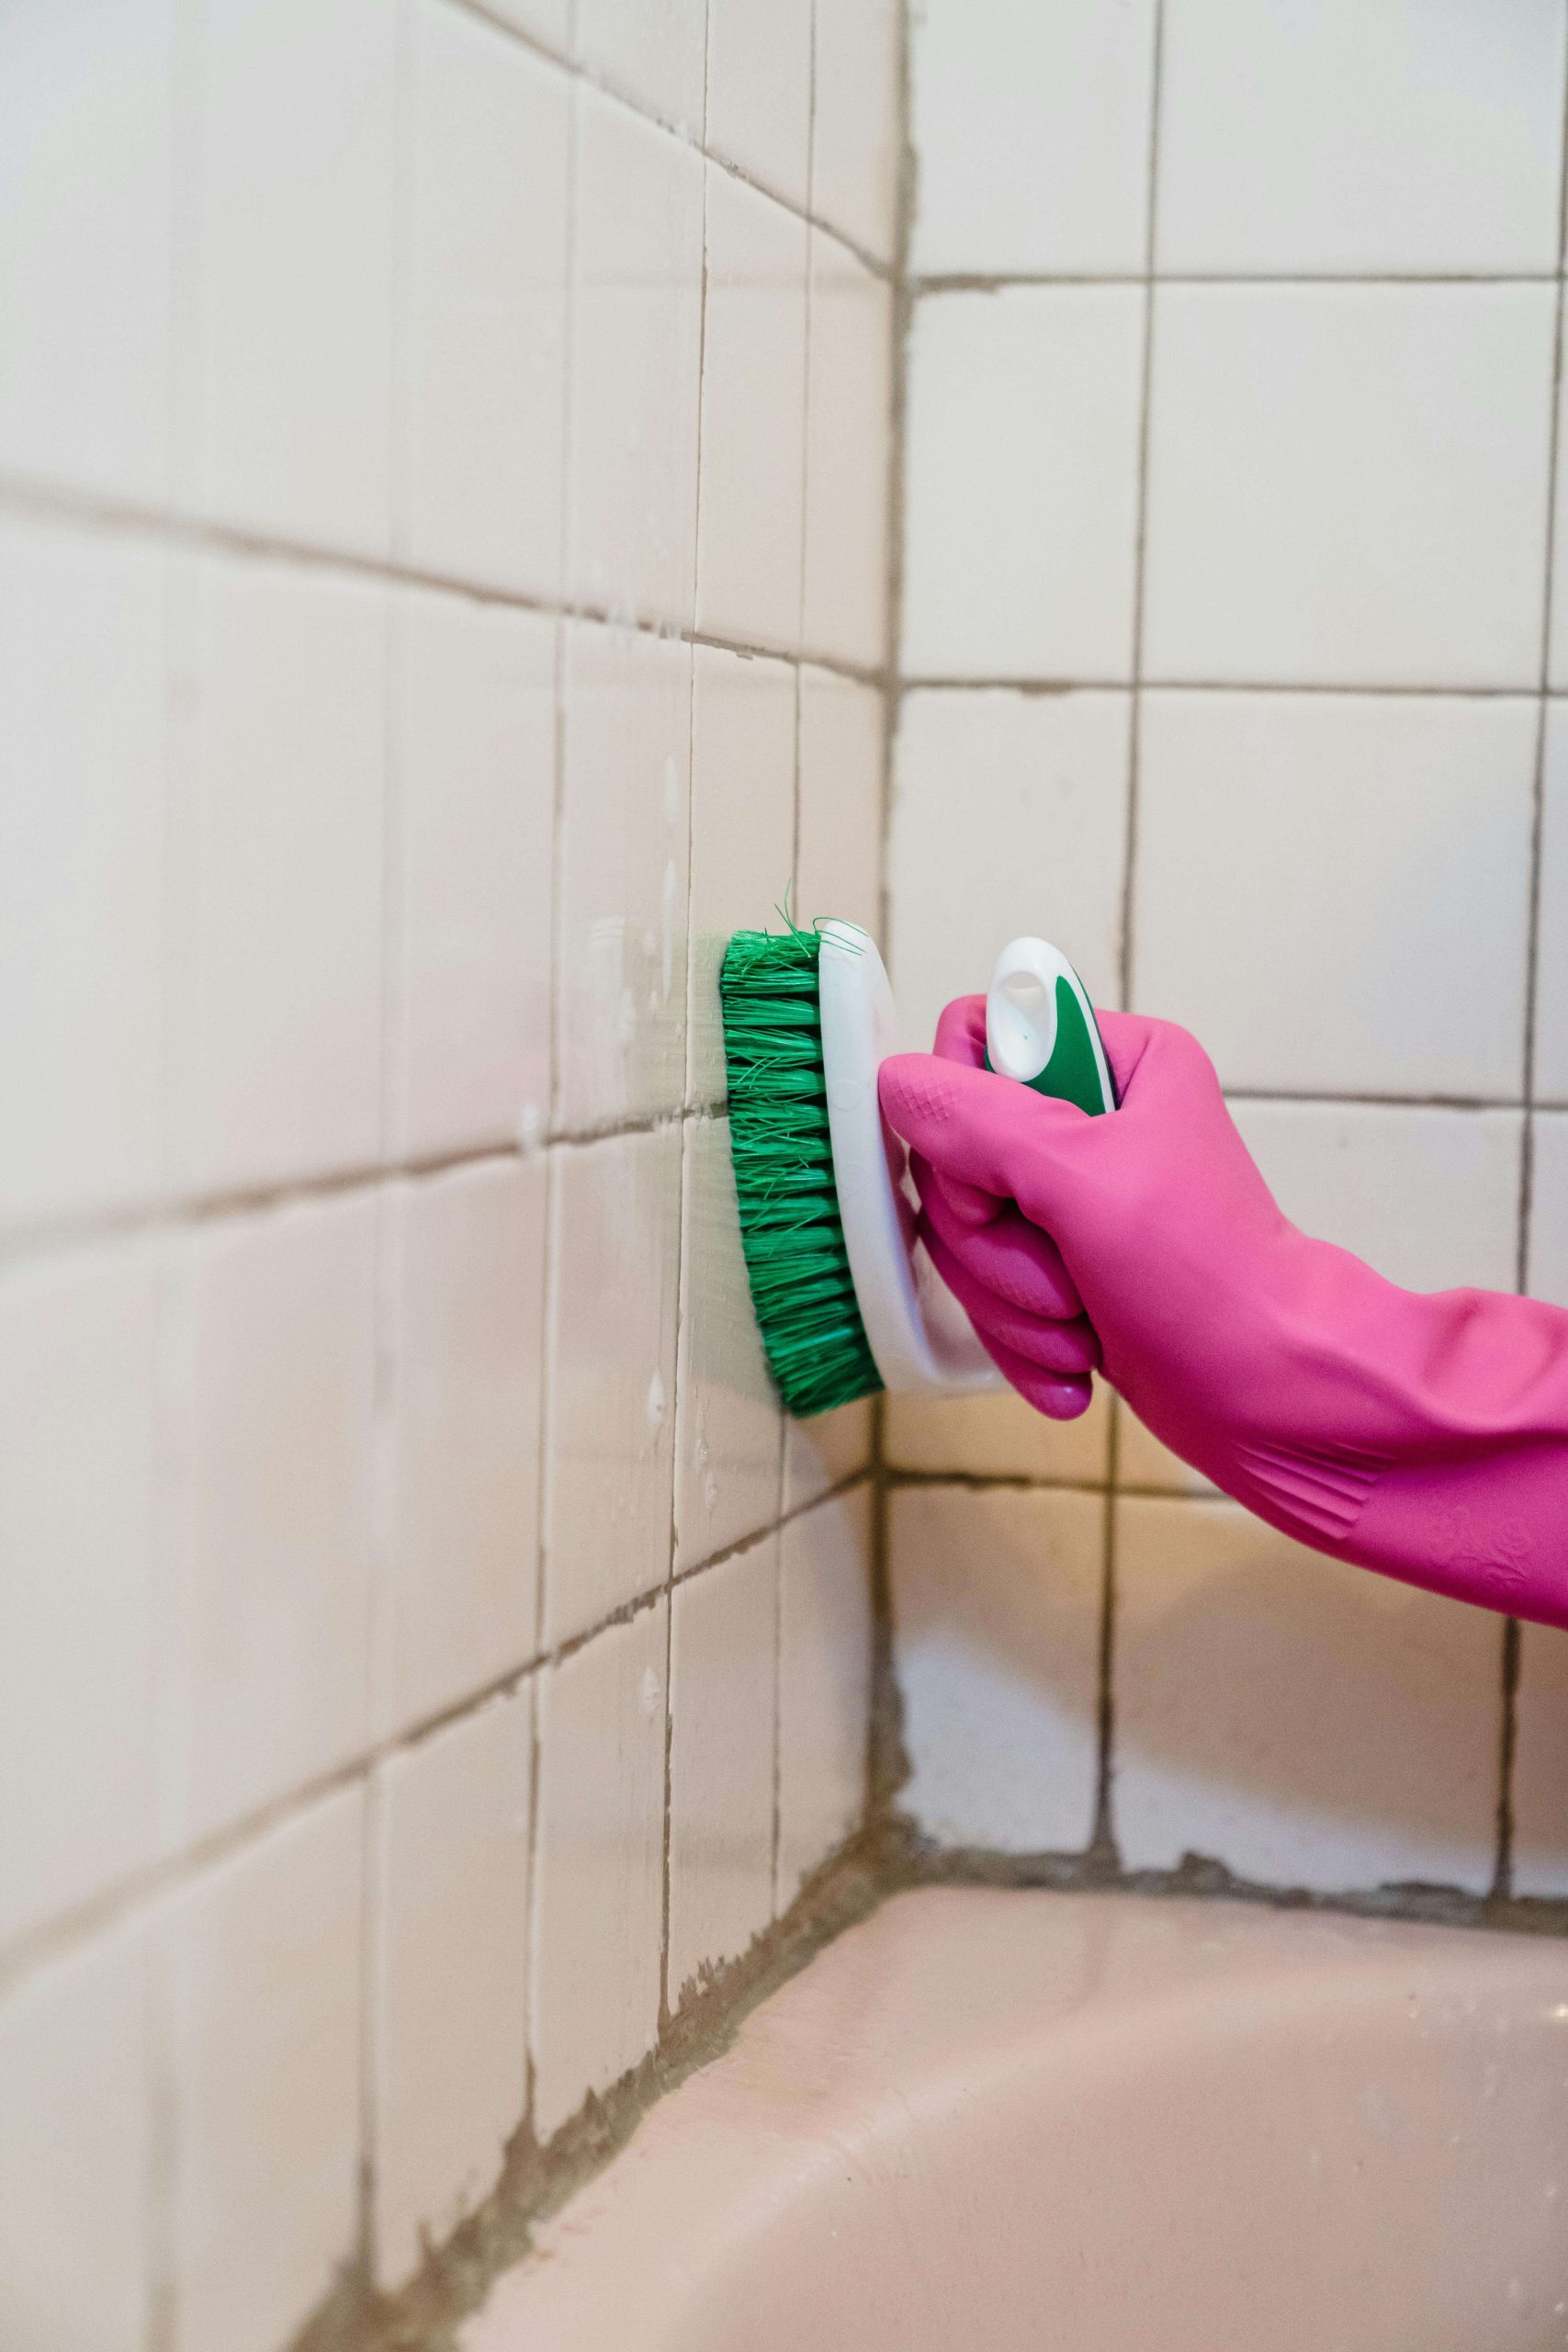
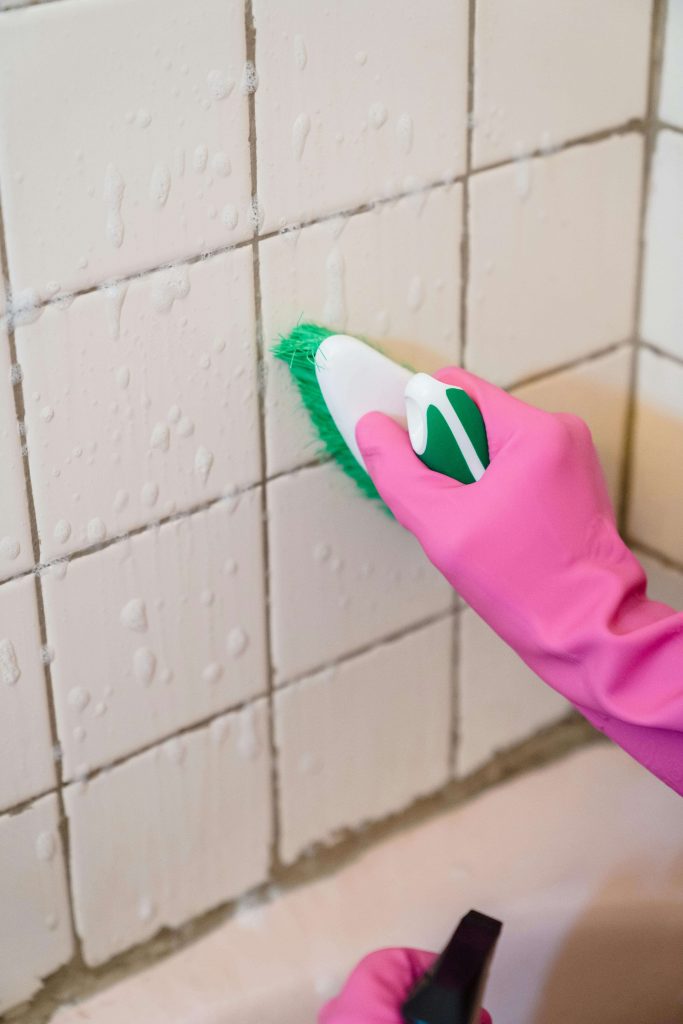
How to clean grout in four simple steps
Prep the area
Wipe tiles with warm water and mild soap first. This removes surface dirt so you’re not rubbing grime straight back into the grout.
Dry the area with a cloth.
Apply the paste
Spread the mixture over grout lines using gloved fingers or a spoon. Work in small sections so it doesn’t dry too quickly.
Leave it to sit for 10 to 15 minutes.
Scrub gently
Use a toothbrush or grout brush to scrub along the lines. No need for aggressive elbow theatrics — steady pressure works best.
You should start to see the original colour come through.
Rinse and wipe clean
Use a damp sponge or cloth to remove the paste. Finish by wiping the tiles with clean water and drying them with a towel.
Stand back and admire your efforts like the domestic icon you are.
A quick warning: skip the vinegar
Vinegar is often praised as the miracle cleaner for everything, but grout is not one of those things. Its acidity can weaken grout over time and may damage natural stone tiles too.
This is one place where vinegar should stay in the pantry.
Prefer shop-bought options?
If DIY isn’t your style, there are plenty of ready-made grout cleaners available.
Always test a small hidden area first, and check that the product is suitable for your tile type. Steam cleaners can also work beautifully, especially in bathrooms, using heat instead of harsh chemicals.
ALSO SEE: HOW TO REPAIR FLOOR TILES: FIXING CRACKS AND REFINISHING ORIGINAL FLOORS
How to repair floor tiles: fixing cracks and refinishing original floors